
Last updated November 2, 2026
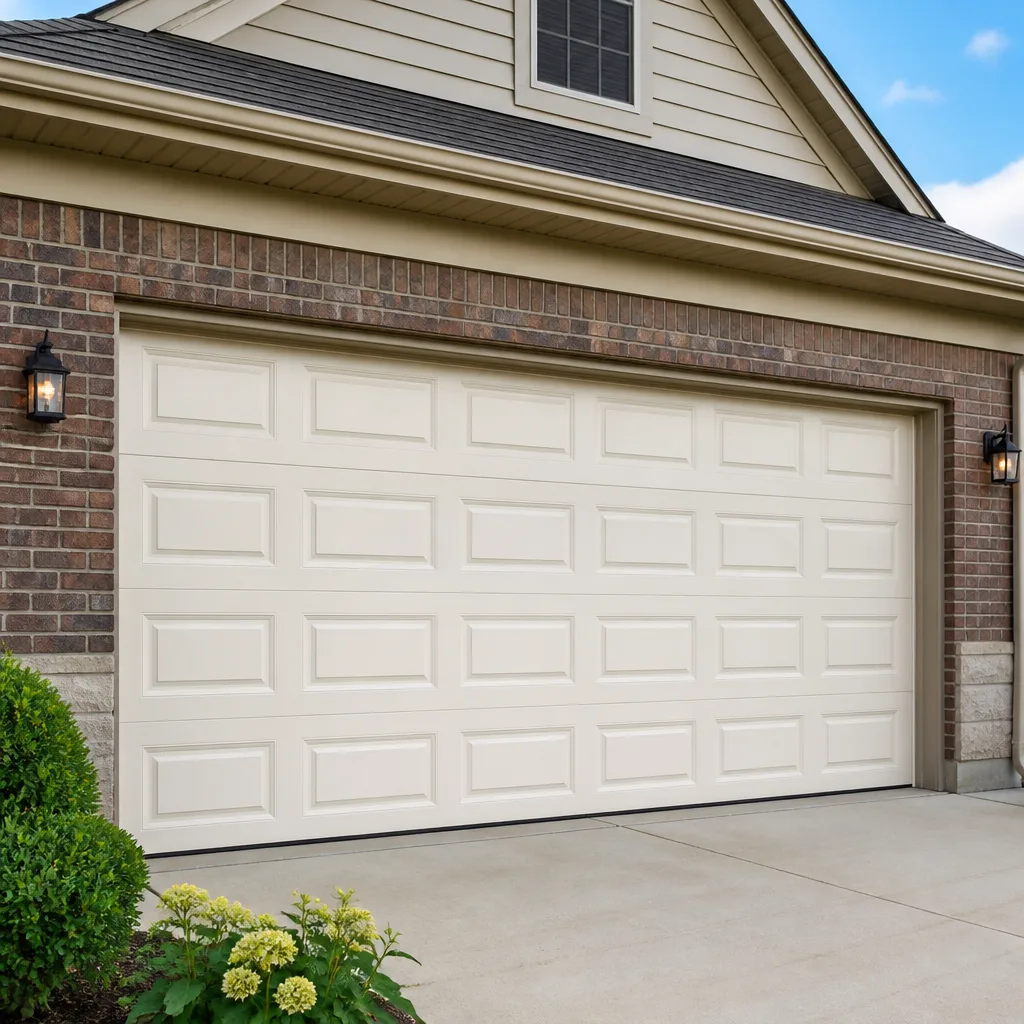 Raised-panel steel
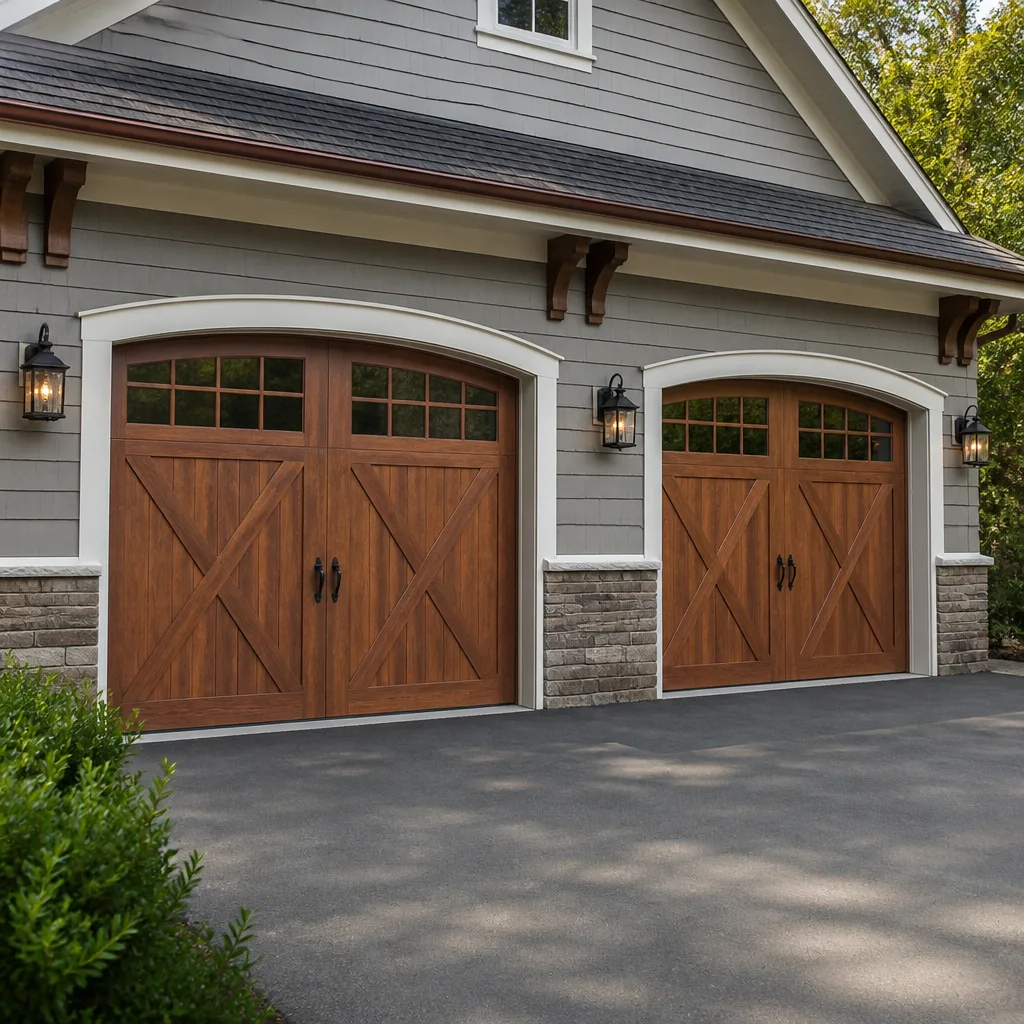 Carriage house
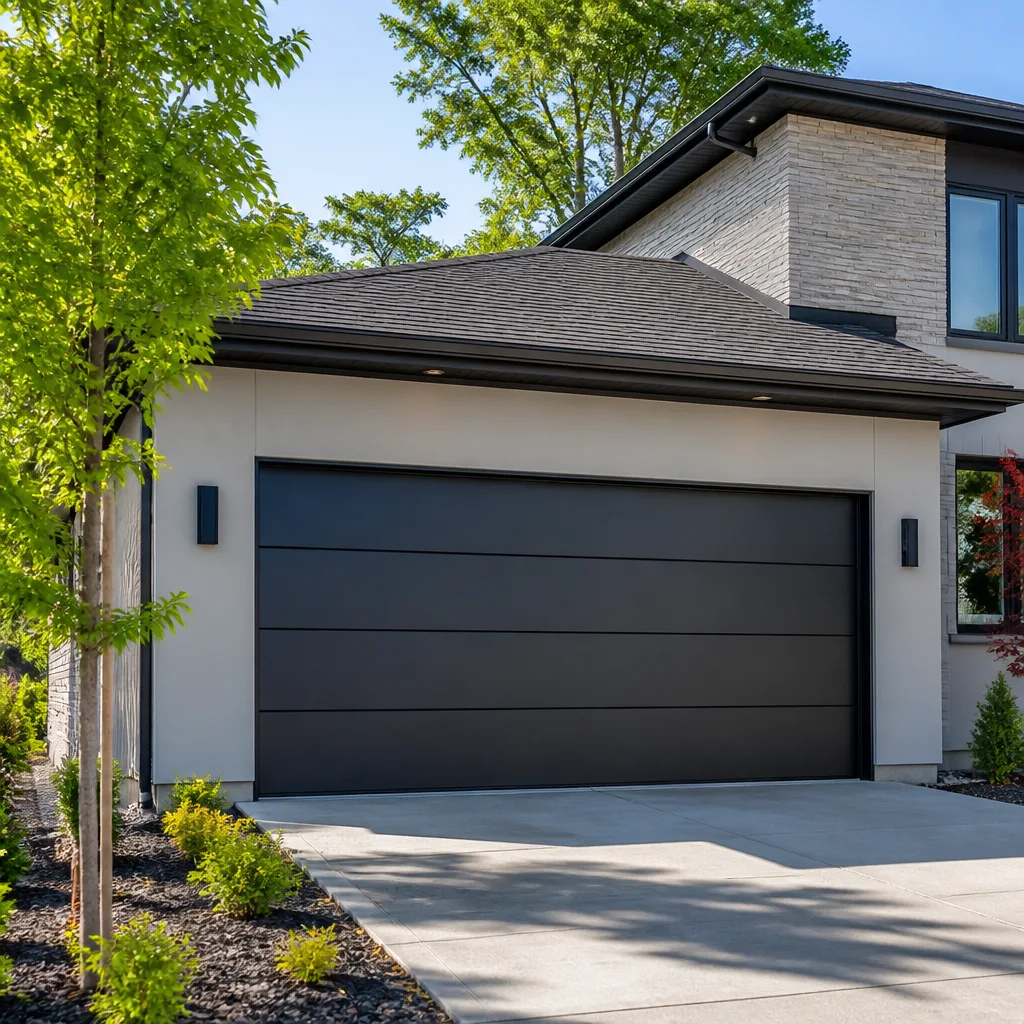 Modern flush
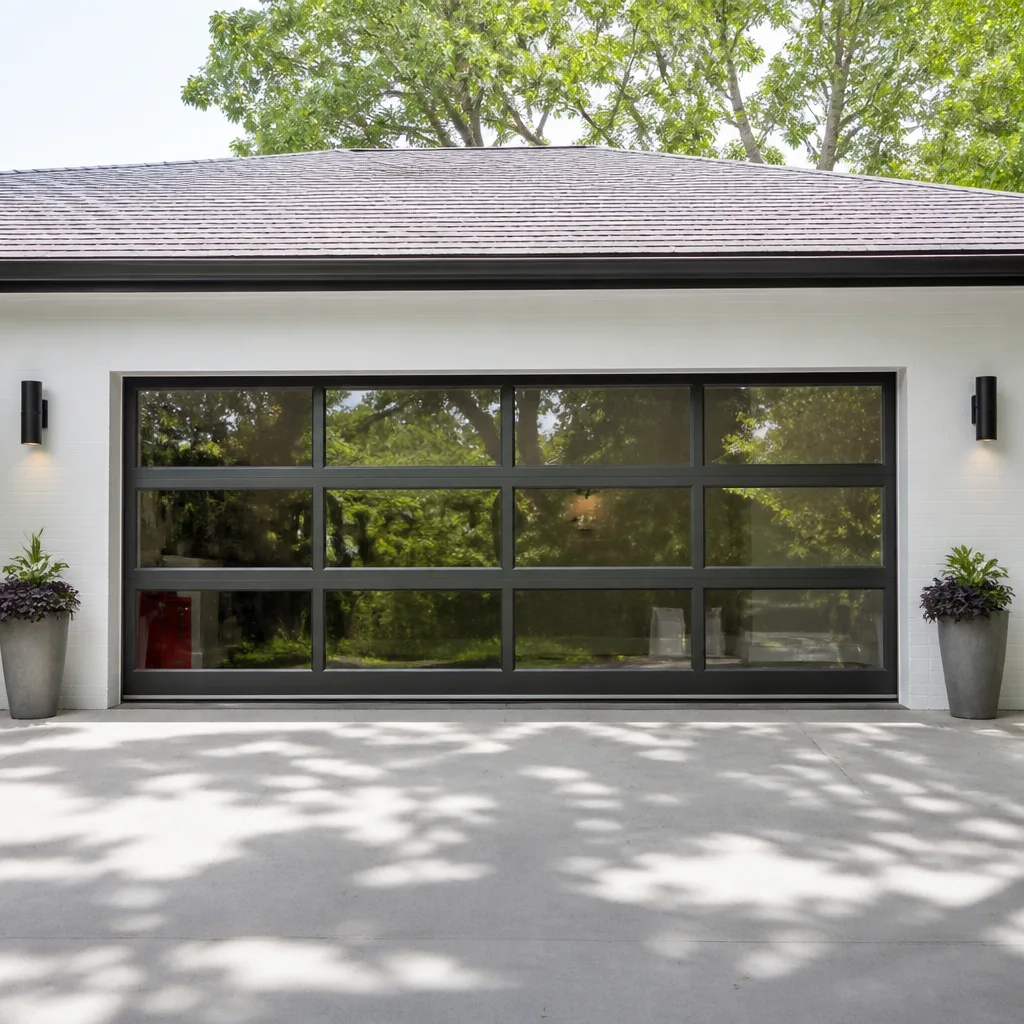 Full-view glass
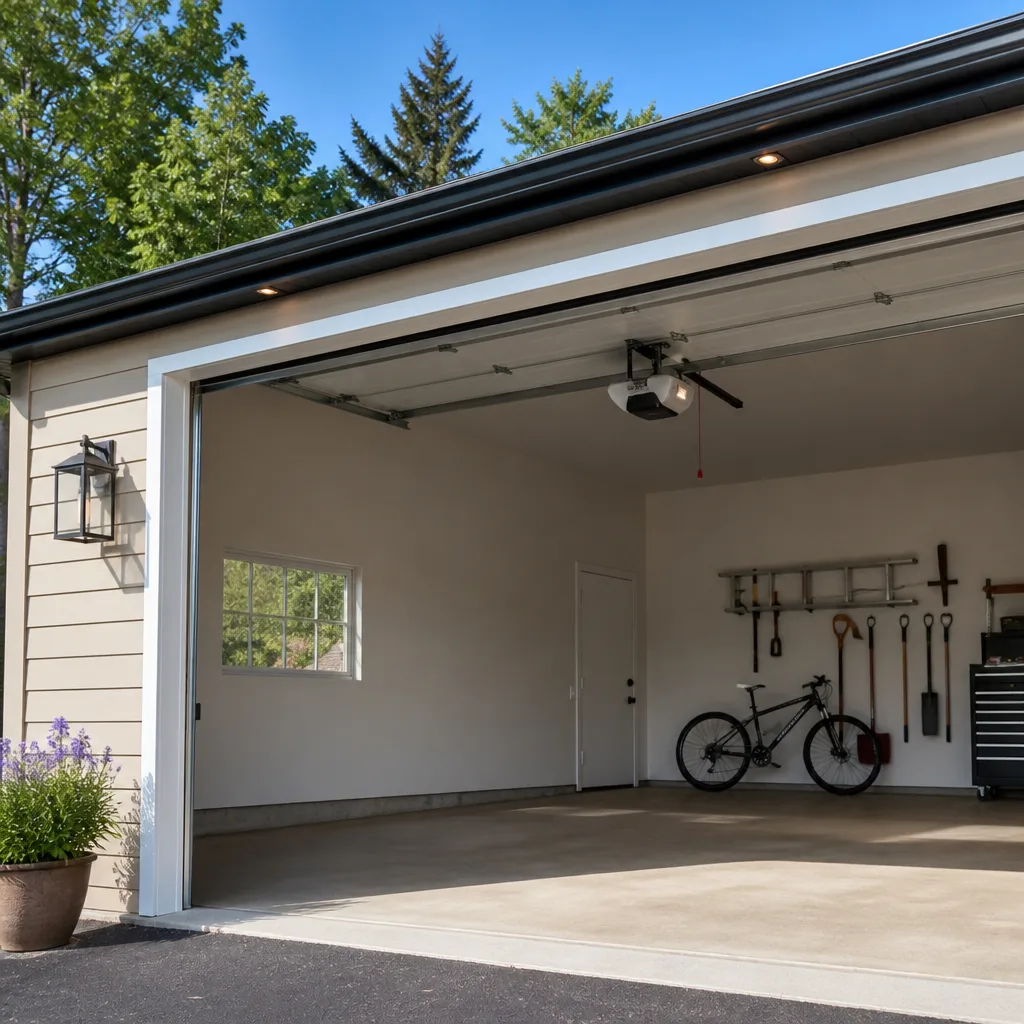 LiftMaster openers
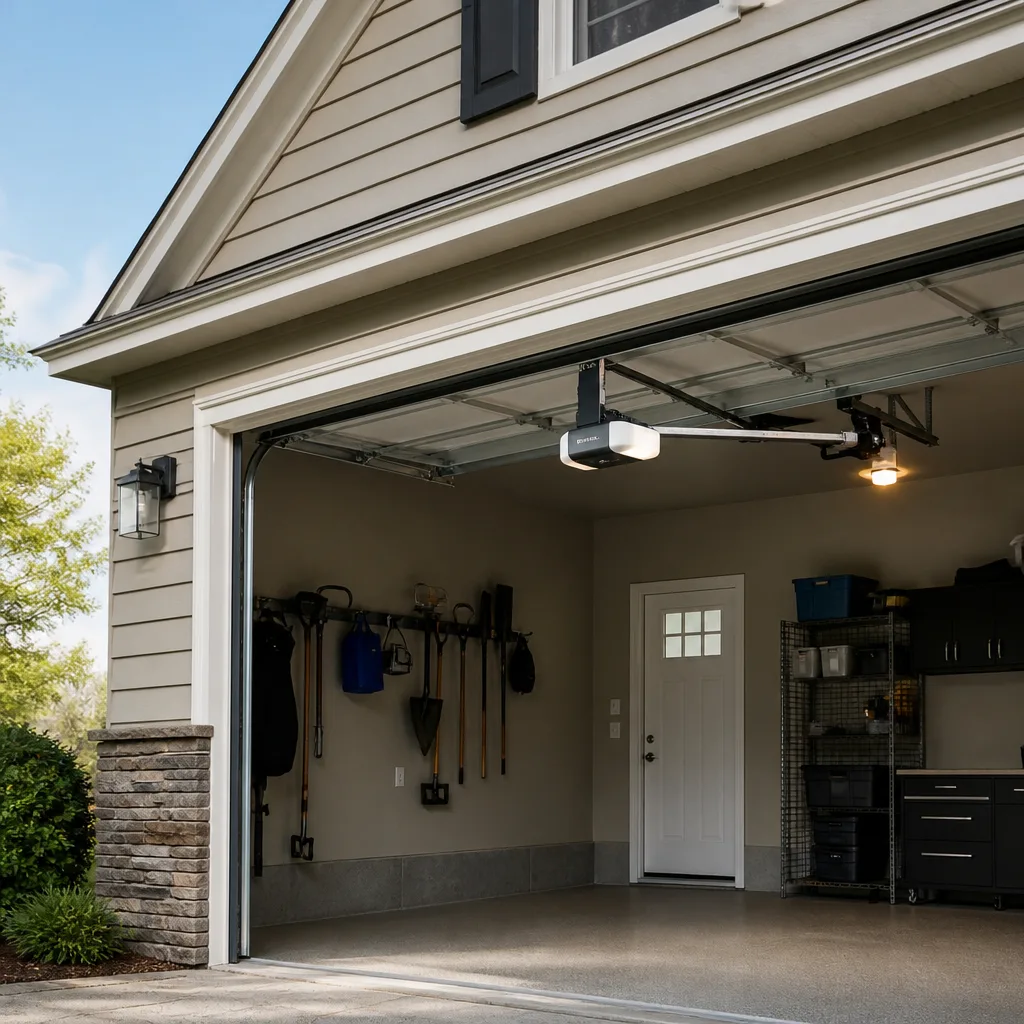 Chamberlain openers
Full 25-point door and opener safety check with every visit - springs, cables, rollers, tracks, and your LiftMaster or Chamberlain opener included
You get a price before we start. It does not change when the truck arrives.
Get your free estimateGarage Door Repair Troubleshooting: Common Problems and How to Fix Them
Here’s a counterintuitive fact from our service records in Inglewood: roughly one in five repair calls we answer involves a door where the homeowner already replaced something that wasn’t broken. They swapped remote batteries, bought a new keypad, or in a few memorable cases, replaced an entire opener, only to find the original problem was a misaligned photo eye or a tired torsion spring making everything else behave erratically. This guide exists to change that ratio. We’ll walk you through the exact diagnostic sequence our technicians use, from the first symptom you notice to the moment you know whether you’re fixing it yourself or calling us for our Garage Door Repair services. You’ll learn how to isolate the real fault before spending a dollar.
Styles & brands we work with
- Raised-panel steel
- Carriage house
- Modern flush
- Full-view glass
- LiftMaster openers
- Chamberlain openers
Quick Answer
Garage door repair troubleshooting means working through a four-zone system in order: opener and motor, spring system, track and hardware, then sensors and controls. Most no-open and reversed-door problems trace back to a misaligned safety sensor, a dead opener logic board, or a broken spring, and many can be identified in under ten minutes with the steps below. If the spring is broken or the door is off its track, stop troubleshooting and call a professional immediately.
Table of Contents
- The Four-Zone Diagnostic Framework: Why Order Matters
- Door Won’t Open: Dead Opener vs. Bound Door
- Door Reverses Immediately: The Misdiagnosis That Costs Homeowners
- Noisy Door: What Each Sound Actually Means
- Door Off Track or Crooked: When to Stop and Call
- Remote and Keypad Failures: The Brand-Specific Layer
- What to Document Before Calling a Technician
- Common Mistakes to Avoid
- When to Call a Professional
- Frequently Asked Questions
- The Bottom Line
The Four-Zone Diagnostic Framework: Why Order Matters
When a technician walks up to a garage door, they don’t start pressing buttons. They work through a mental checklist that eliminates entire categories of failure before narrowing to the exact part. This is the sequence: opener and motor first, spring system second, track and hardware third, sensors and controls fourth. The order matters because each zone depends on the one before it. A door with a broken spring will not open even if the opener is brand new, which is why replacing the opener first is the single most common wasted repair we see in Inglewood homes.
Zone 1: Opener and motor. This is the easiest zone to rule out. If the opener clicks, hums, or does nothing when you press the wall button while the door is in manual mode, you’ve isolated the problem to the motor unit or its power supply. If the opener responds but the door moves only a few inches before stopping, the opener is probably fine and the problem is mechanical.
Zone 2: Spring system. Torsion springs (mounted on a bar above the door) or extension springs (mounted along the horizontal tracks) counterbalance the door’s weight. These springs carry hundreds of pounds of tension. When one breaks, it often sounds like a gunshot in the garage. A door with a broken spring will feel extremely heavy when you try to lift it manually, and the opener will struggle or refuse to move it.
Zone 3: Track and hardware. Rollers, hinges, brackets, and the track itself. Look for bent metal, loose bolts, worn rollers, and debris in the track. This zone is where you find physical obstruction problems.
Zone 4: Sensors and controls. The photo eyes near the floor on both sides, the wall button, the remote, the keypad, and the logic board. These are electronic, low-voltage, and often the fastest fix. They are also the zone most people skip to first, which is why so many troubleshooting attempts fail.
Why this order: If you start with Zone 4 and the actual problem is a broken spring in Zone 2, you’ll waste an hour fiddling with remotes while the door sits there with a mechanical fault that could damage the opener if forced. In our experience across Inglewood’s mix of older single-car garages and newer two-car builds, following the sequence saves an average of 40 minutes of confusion on a typical service call.
Door Won’t Open: Dead Opener vs. Bound Door
The distinction between a dead opener and a mechanically bound door is the most important diagnostic split in garage door repair troubleshooting. If your door won’t open, here’s the five-minute test our technicians use:
- Pull the emergency release cord. This red cord hangs from the opener rail. Pull it to disconnect the door from the opener. Now try to lift the door by hand.
- If the door lifts smoothly with moderate effort and stays in the open position on its own, the door is mechanically sound and the problem is in the opener or its power source. You’ve just saved yourself a spring replacement you didn’t need.
- If the door is extremely heavy, won’t stay up, or only rises a few inches before fighting you, you have a spring failure or a mechanical obstruction. The opener didn’t fail. It was simply refusing to damage itself against a door it couldn’t move.
- If the door is stuck at a specific point and won’t budge in either direction, you likely have a roller jammed in the track, a bent track section, or an object wedged in the opening.
- If the door lifts without you touching it, the spring tension is dangerously high and the spring system needs professional adjustment. Do not attempt to operate the door further.
This is where the sequence from the four-zone framework pays off. Most homeowners in Inglewood, when a door won’t open, immediately assume the opener is dead. They buy batteries, then a remote, then sometimes an entire opener, and the door still doesn’t move. The problem was in Zone 2 all along, and the opener was fine. A Genie opener and a LiftMaster opener will both refuse to move a door with a broken spring. The opener is doing its job.
Common Zone 1 causes for a true dead opener:
- The opener is unplugged or the outlet has tripped a GFCI. Check the outlet with a lamp or phone charger.
- The logic board has failed. This happens more often in coastal areas where humidity and salt air take a toll on electronics, including Inglewood homes within a few miles of the coast.
- The opener’s internal gears have stripped. Most residential openers use a plastic drive gear inside the motor housing, and after enough years it wears down to a smooth nub. You’ll hear the motor run but the chain or belt won’t move.
- The wall button or its low-voltage wiring has failed. This is a $15 fix, not a $300 opener replacement.
If you’ve pulled the release cord and the door moves fine by hand, your opener is the problem. If the door is heavy or stuck, the opener was never the problem. This single test answers more troubleshooting questions than any other step in this guide.
Door Reverses Immediately: The Misdiagnosis That Costs Homeowners
A door that starts to close, reverses, and returns to the open position is one of the most commonly misdiagnosed garage door problems. For years, the default assumption was that the opener’s limit switch or travel settings were out of adjustment. Homeowners would fiddle with the limit screws on the opener motor, and when that didn’t fix it, they’d call a technician who did the same thing before eventually finding the real problem.
In our experience, the actual causes break down like this:
- Misaligned or blocked photo eyes (most common). The two small sensors mounted near the bottom of the door tracks, one on each side, project an invisible beam across the opening. If a sensor gets knocked out of alignment, has dust or spiderwebs on its lens, or has a leaf or sports equipment blocking the beam, the opener thinks something is in the door’s path and reverses. In Inglewood, where garages often double as storage for bikes, strollers, and beach gear, this is constant.
- Failing torsion spring (most overlooked). A spring that has lost tension or is in the early stages of failure can cause the door to close unevenly. The opener senses the imbalance as resistance, assumes an obstruction, and reverses. This is the one that gets missed because it mimics the photo-eye symptom exactly.
- Worn rollers or dirty track. Physical resistance in the track can trip the opener’s force-sensor safety feature. The door slows, struggles, and the opener reverses rather than strain.
- Actual limit switch failure (rarest). When the limit switch genuinely fails, the door typically doesn’t reverse. It over-travels, hitting the floor hard and then reversing. This is a different symptom entirely.
The sequence our technicians use: clean the photo eye lenses with a dry cloth, check that both sensor lights are lit and steady, clear anything in the beam path, then test. If it still reverses, look at the door itself. Is one side sagging? Does it feel heavier than it used to? A door that reverses immediately is usually a sensor problem. A door that reverses halfway down is usually a mechanical problem. The limit switch is almost never the culprit, and adjusting it blind is how small problems become big ones.
Noisy Door: What Each Sound Actually Means
A noisy garage door is rarely one problem. It’s a collection of sounds, and each one tells you something specific. Here’s the sound-to-cause mapping our technicians use when diagnosing noise complaints in Inglewood garages, where the temperature swings between cool coastal mornings and hot summer afternoons cause metal parts to expand and contract, loosening hardware over time.
Squealing or shrieking: This is almost always a metal-on-metal wear point. Rollers with worn bearings, hinges that need lubrication, or a chain that’s running dry on the opener rail. It’s a maintenance issue first, not a replacement issue. Lubricate the rollers, hinges, and chain. If the squeal persists, the roller bearings are shot.
Grinding: Grinding from the opener motor housing means the plastic drive gear inside is stripping. This is a known failure point on many older LiftMaster and Craftsman units. The fix is a gear replacement, not lubrication. Grinding from the rollers suggests the track is misaligned and the rollers are scraping against the track’s side walls.
Rattling: Loose hardware. Bolts and nuts on the track brackets, hinges, and opener rail vibrate loose over years of door operation. A full pass with a socket wrench takes 20 minutes and often eliminates 80 percent of the noise. If the rattling is coming from the door itself, the panels may have separated from the frame stiles.
Popping or banging: This is the sound of a torsion spring under stress. A single loud bang usually means a spring has broken. Recurring popping sounds while the door moves indicate the spring is binding on the shaft and needs professional adjustment. Do not attempt to service a torsion spring yourself.
Humming without movement: The opener motor is running, but the door isn’t moving. This is the stripped-gear problem again, or the door is disconnected from the opener via the emergency release cord. Check the release cord first. Then the gear.
For Inglewood homes specifically, we recommend lubricating all moving parts twice a year. The dry air and occasional Santa Ana wind conditions mean dust accumulates in tracks and on rollers faster than in more humid climates.
Door Off Track or Crooked: When to Stop and Call
There are exactly three garage door failures where DIY troubleshooting ends and professional involvement is non-negotiable: a door off its track, a broken torsion spring, and a frayed or severed cable. The reasoning isn’t opinion. It’s mechanical reality.
1. A door off its track. When a roller jumps the track, the door is no longer supported evenly. The remaining rollers are carrying uneven weight, and the door can shift suddenly. Attempting to force the door back onto the track by hand puts you directly under a hanging door that weighs 150 to 350 pounds. Our technicians use winding bars, clamps, and a second person to stabilize the door before any roller is reset. This is not a one-person job.
2. A broken torsion spring. A torsion spring stores enough tension to lift the entire door. That energy is what makes the door feel light when you open it manually. When a spring breaks, that tension is partially released, but the spring on the other side remains loaded. Adjusting, removing, or replacing a torsion spring without winding bars and the correct procedure is how people get seriously injured. This is the one repair where we tell every Inglewood homeowner the same thing: don’t touch it. Call us.
3. A frayed or severed cable. The cables work with the springs to guide the door’s travel. When one cable snaps, the door immediately becomes off-balance. What many homeowners don’t realize is that the spring is still under full tension and the remaining cable now carries double its designed load. Attempting to re-string a cable while the spring is loaded is a severe injury risk.
These three failures share a common trait: the danger isn’t obvious until it’s too late. A door that looks like it’s just sitting there can contain enough stored energy to cause catastrophic injury if the wrong bolt is loosened. That’s the plain mechanical reasoning. If you’re facing any of these three, stop reading and call us at (866) 753-8675.
Remote and Keypad Failures: The Brand-Specific Layer
This is where brand fluency pays off. A Wayne Dalton opener and a Chamberlain opener fail in different ways, and knowing the difference saves time. We service all the major brands, including Wayne Dalton, Craftsman, Raynor, and LiftMaster, and each has its own failure patterns.
Remote fails but wall button works:
- Replace the remote batteries. This sounds obvious, but dead batteries account for a significant share of “broken opener” calls in Inglewood. Use fresh batteries, not ones from a drawer.
- Check the lock button on the wall console. Many openers have a lock feature that disables remotes while keeping the wall button active. This is a common post-vacation discovery.
- Try reprogramming the remote. Each brand has its own procedure, and they’re not interchangeable. A LiftMaster remote won’t pair to a Genie opener without the correct button sequence.
- Check the opener’s antenna. A broken or missing antenna wire can cut remote range to a few feet. The antenna hangs from the motor unit and sometimes gets knocked loose.
Keypad works intermittently or not at all:
- Keypads are weather-exposed, and the Inglewood sun and occasional rain take a toll. If the buttons feel stiff or the display is faded, the keypad itself may be the problem rather than its programming.
- Keypads have their own batteries, separate from remotes. Many homeowners check the remote batteries and assume the keypad shares a power source. It doesn’t.
- Reprogramming a keypad usually requires the opener’s learn button and the existing PIN. If the PIN has been forgotten, you’ll need to reset the opener and reprogram from scratch.
Brand-specific notes from our service experience: LiftMaster units tend to develop logic board issues after 10 to 15 years, and the fix is often a board replacement rather than a full opener swap. Chamberlain openers use similar internals but different firmware, so a LiftMaster board won’t work. Craftsman openers from the 2000s and 2010s have a well-documented plastic gear failure inside the motor housing, and we replace those gears regularly. Raynor and Wayne Dalton openers are less common in Inglewood but respond well to standard diagnostic procedures once the correct programming codes are identified. That’s the value of knowing all eight major brands: we arrive already knowing what to check.
For a deeper look at opener-specific failures, see our guide on Garage Door Opener Repair in Santa Monica. The troubleshooting logic applies wherever your door is.
What to Document Before Calling a Technician
If you’ve worked through this guide and you’ve hit a wall, you can save yourself time and money by documenting the failure before you call. Not sure who to trust? Read How to Hire a Garage Door Contractor in Inglewood: A Step-by-Step Guide first. Here’s what our technicians want to know when they arrive at an Inglewood home, and what we tell our own friends to gather before calling anyone:
- Photos. Take clear photos of the door from the inside, focusing on the springs, cables, rollers, and both photo eyes. Take a photo of the opener’s model number label. These photos answer half our initial questions before we even get to the house.
- Sounds. What does the door do when you press the button? A click, a hum, a grind, or silence? Record a short video with your phone. Sound tells us more than descriptions do.
- Sequence of events. What happened in the 24 hours before the failure? Did the door work in the morning and fail in the evening? Did it make a new noise for a week and then stop? Did a power outage occur? Did someone bump the door with a car? This context narrows the diagnosis.
- Age of the system. If you know roughly when the door and opener were installed, that helps set expectations. Most doors last 15 to 30 years. Most openers last 10 to 15. If both are original to a 1990s Inglewood house, the fix might be replacement rather than repair.
- What you’ve already tried. If you replaced batteries, adjusted the photo eyes, or lubricated anything, tell us. We don’t want to repeat steps you’ve already taken, and knowing what you’ve done tells us what the problem isn’t.
This documentation habit cuts diagnostic time in half on most calls. It also protects you from inflated estimates, because a technician who sees clear photos and hears an accurate description can often quote the repair over the phone before dispatching a truck. At Whitestone Garage Door Service home, we use this information to arrive with the right parts already on the truck.
Common Mistakes to Avoid
- Replacing the opener when the spring is broken. Most common wasted expense we see. The opener was fine. The spring failed. An opener cannot lift a door with a broken spring, and no new opener will fix it.
- Ignoring a door that reverses intermittently. A door that reverses sometimes isn’t a fluke. It’s an early warning of a sensor misalignment or a failing spring. The problem will get worse, and it will fail at the worst possible time, like when you’re late for work.
- Adjusting limit screws to fix a reversing door. The limit switch is almost never the cause of a reversing door, and adjusting it blind can cause the door to over-travel and slam into the ground. This is how minor problems become expensive repairs.
- Using WD-40 on rollers and hinges. WD-40 is a cleaner, not a lubricant. It strips away grease and leaves the metal unprotected. Use a silicone-based garage door lubricant or white lithium grease instead.
- Attempting any spring or cable work. Torsion springs carry enough stored energy to kill or maim. There is no safe DIY version of spring repair. This is the one line we draw with every customer: do not touch the springs.
- Testing the door with people or pets in the way. If a cable snaps while you’re testing the door, the door can drop with its full weight. Keep everyone clear of the opening whenever the door is moving or being tested.
- Dismissing slow operation as normal aging. A door that opens slower than it used to is telling you something. Usually the springs are losing tension, and the opener is working harder to compensate. That extra strain shortens the opener’s life.
When to Call a Professional
Call a professional if the spring is broken, the door is off its track, a cable is frayed, or the door reverses despite properly aligned sensors. These four scenarios cover the majority of serious garage door failures, and all of them involve enough stored energy or suspended weight to be genuinely dangerous. If you’ve worked through the troubleshooting steps in this guide and the door still won’t cooperate, call us. Garage Door Repair in Santa Monica is our service page for one region we cover, and the same team handles Inglewood calls. Whitestone Garage Door Service offers free estimates in Inglewood. Call (866) 753-8675 and we’ll help you figure out what’s happening, usually over the phone before a truck ever rolls.
Frequently Asked Questions
A broken spring usually makes a loud bang, like a gunshot, from inside the garage. When you look at the spring, you’ll see a visible gap in the coil if it’s a torsion spring, or a snapped, dangling section if it’s an extension spring. If you pull the emergency release cord and the door feels extremely heavy or won’t lift, the spring has failed. Do not attempt to repair it. Call us at (866) 753-8675 and we’ll handle it same day in Inglewood.
You should not. A door off its track is unbalanced and can shift suddenly, and the spring system remains under tension even while the door is stuck. Attempting a DIY track repair puts you directly under a heavy, unstable door. This is a professional repair, and in our experience the fix is usually straightforward for a technician with the right tools and a second pair of hands.
Most common repairs in Inglewood fall between $150 and $400, depending on the part. A photo eye realignment or limit adjustment is on the lower end. Roller replacement is mid-range. Spring replacement typically costs $250 to $400 installed, and a new opener runs $350 to $600 including installation. We quote every repair over the phone and confirm the price before any work starts. Call (866) 753-8675 for an exact quote, and the estimate is free.
A door that reverses before closing is usually reacting to a misaligned or blocked photo eye. Clean the sensor lenses, make sure both sensor lights are steady, clear any objects from the beam path, and test again. If it still reverses, you may have a failing spring causing the door to close unevenly, which the opener reads as an obstruction. This is the sequence we check first on every reversing-door call in Inglewood.
Lubricate the rollers, hinges, and opener chain or belt twice a year, and tighten all visible bolts annually. Here in Inglewood, the dry air and seasonal Santa Ana winds mean dust builds up faster than in humid climates, so we recommend twice-yearly lubrication for every door. A 20-minute maintenance pass twice a year is cheap insurance against a surprise failure.
We service all eight major residential brands: LiftMaster, Chamberlain, Genie, Clopay, Amarr, Wayne Dalton, Craftsman, and Raynor. Our technicians arrive already knowing the failure patterns and programming procedures for each brand, which speeds up diagnosis and means we carry the right parts. Your door, our specialty.
The Bottom Line
Garage door repair troubleshooting is mostly about sequence. For more guides & resources, explore our blog. Work through the four zones in order: opener and motor, spring system, track and hardware, then sensors and controls. Pull the emergency release to separate opener problems from door problems. Know which sounds mean what. Document what you find before calling anyone. And respect the three non-negotiables: broken springs, off-track doors, and frayed cables are professional-only repairs. If you’ve followed this guide and you’re still stuck, or if you’d rather skip the troubleshooting entirely and have a specialist handle it, call Whitestone Garage Door Service at (866) 753-8675. We’ll quote the repair before any work starts, and we’ll send a technician who already knows your brand. Right part, right fix, right the first time.
Written by the team at Whitestone Garage Door Service, serving Inglewood since 2018.
See the difference
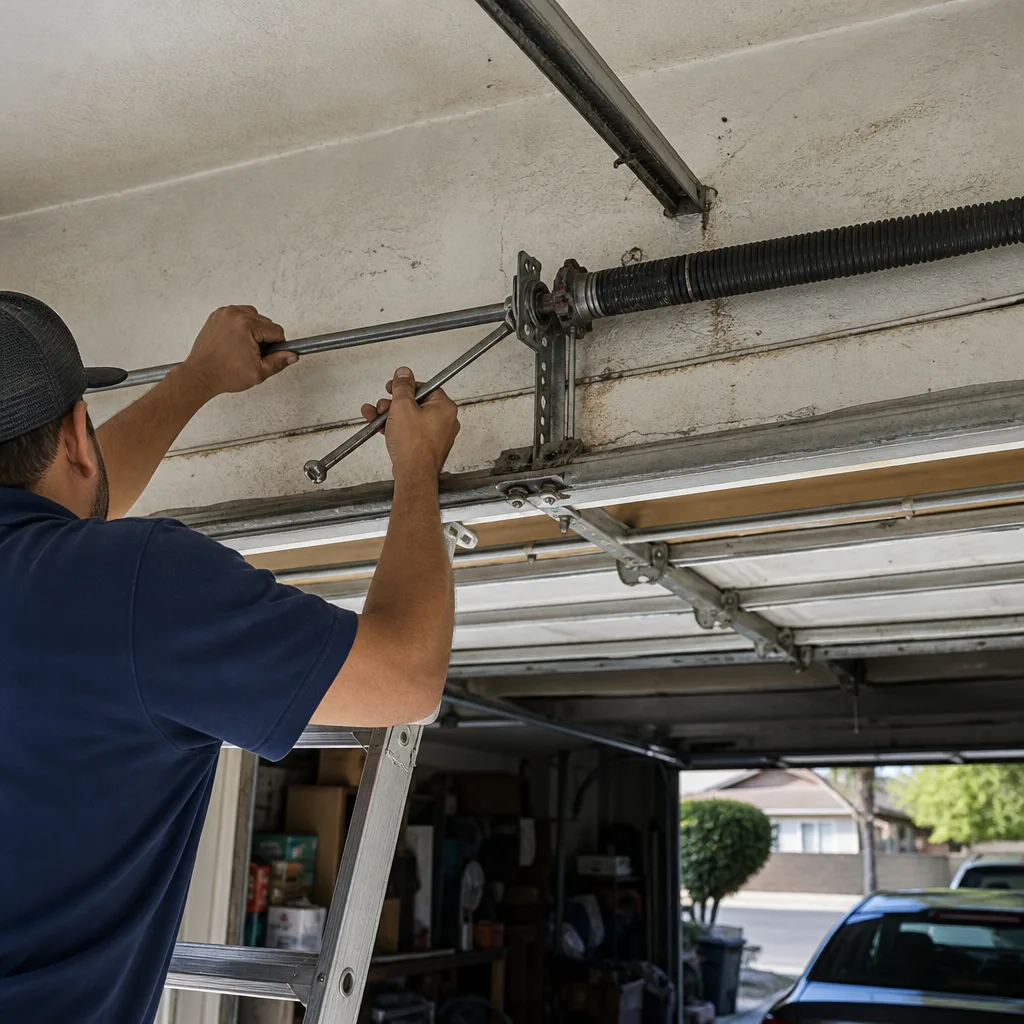 Before
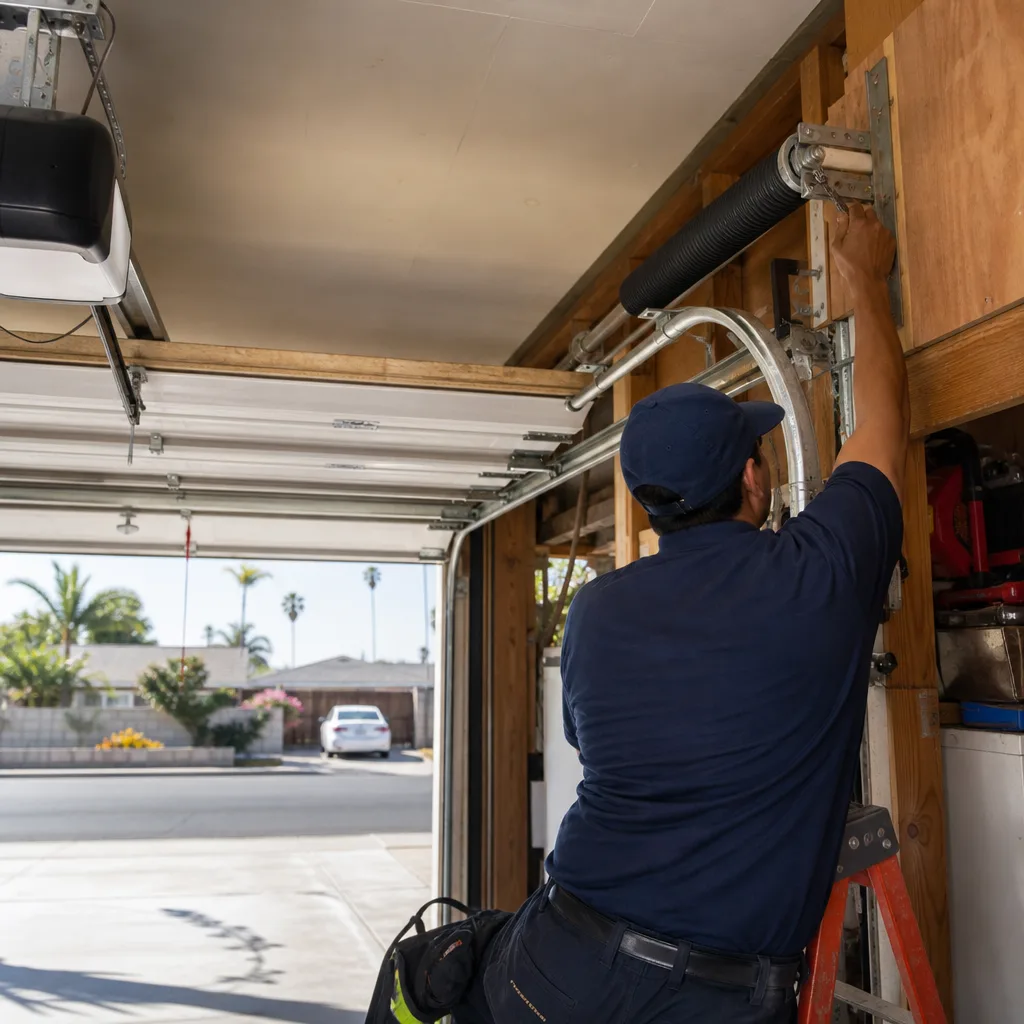 After
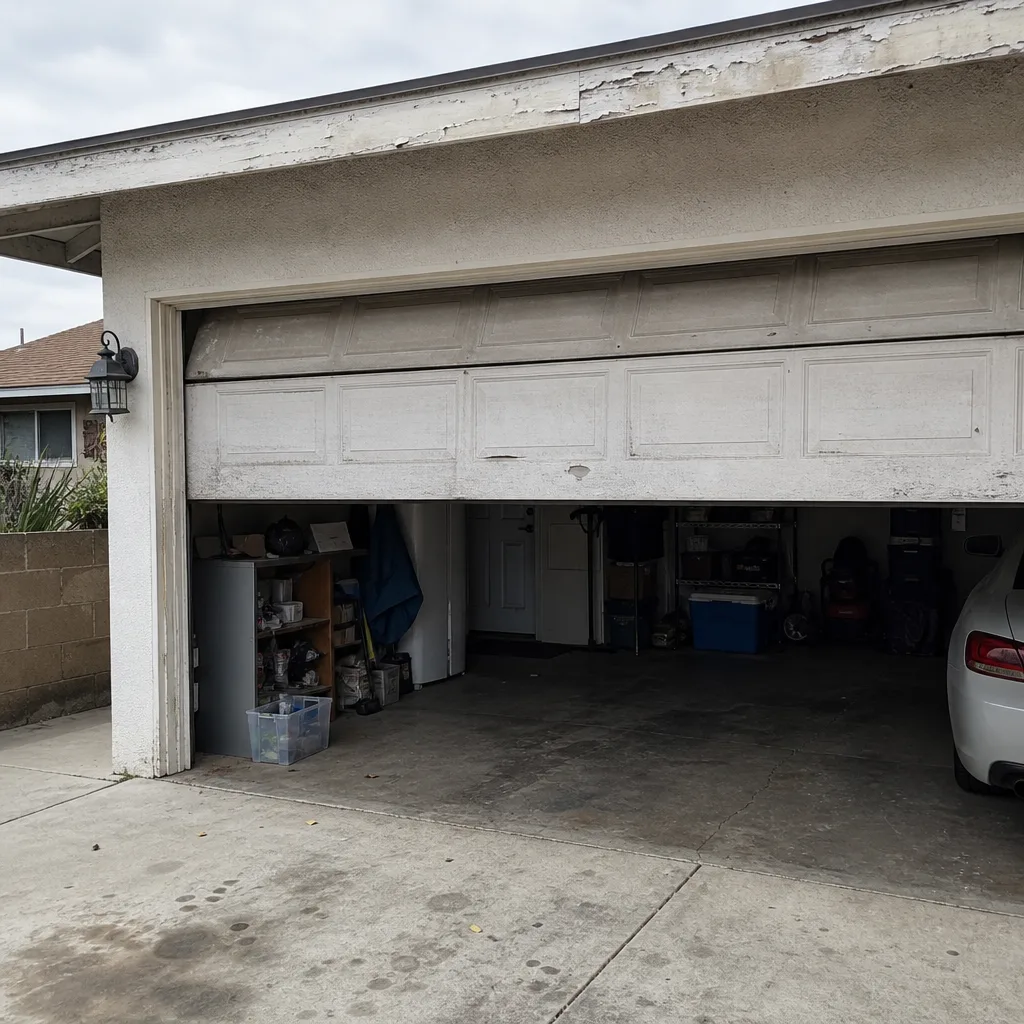 Before
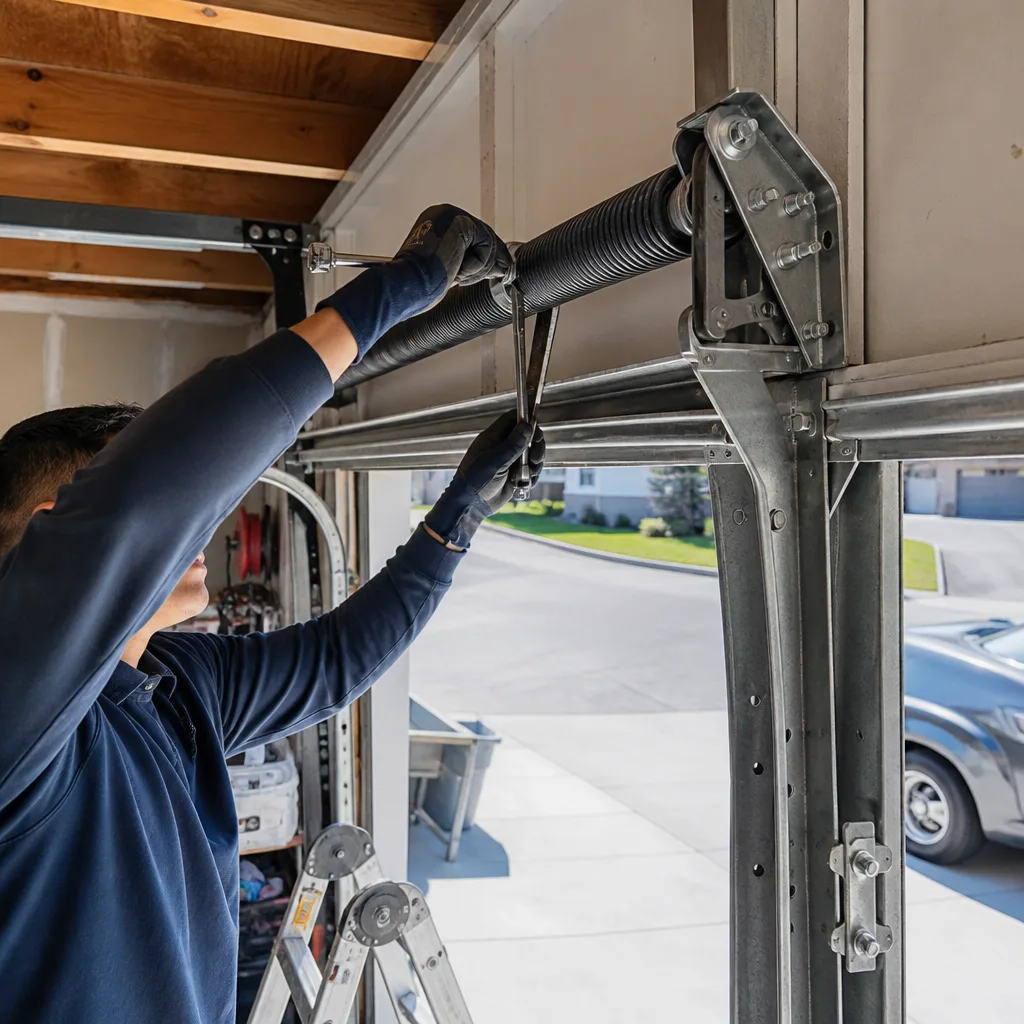 After
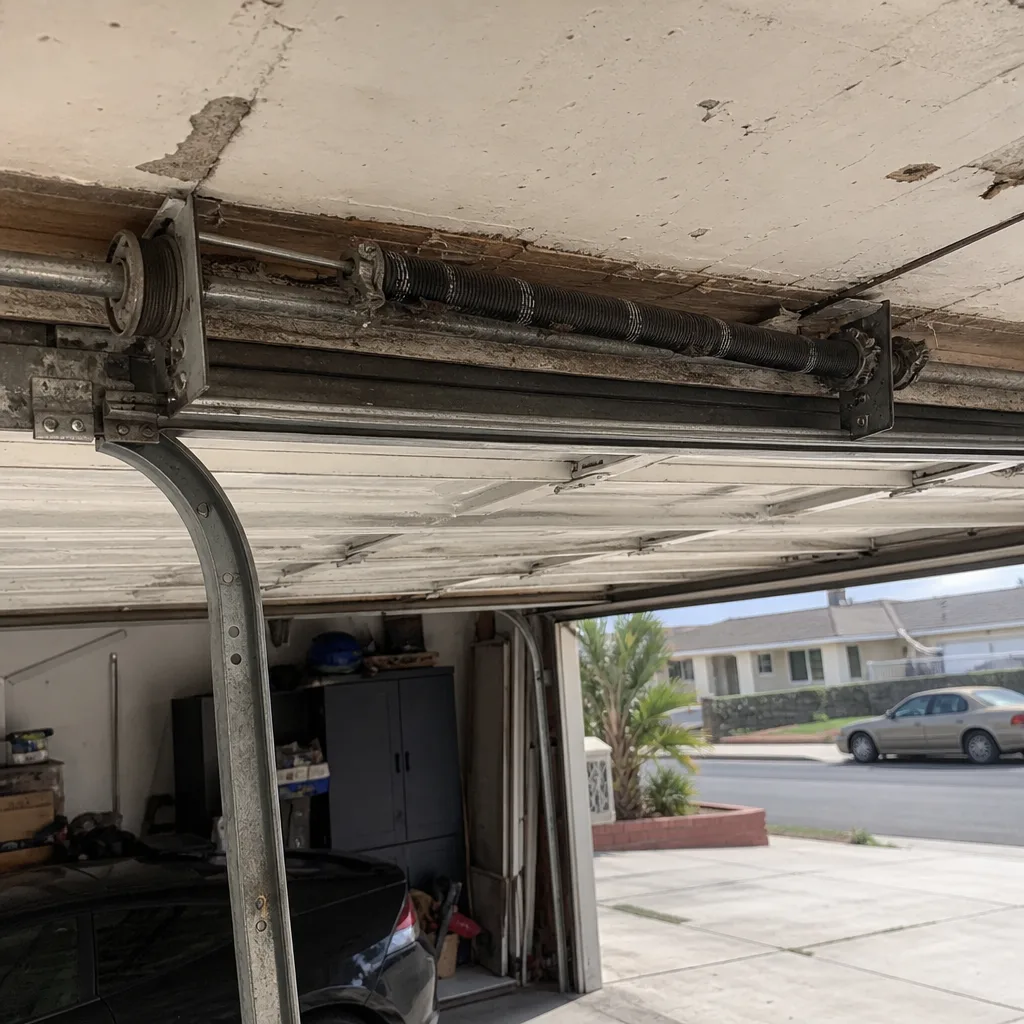 Before
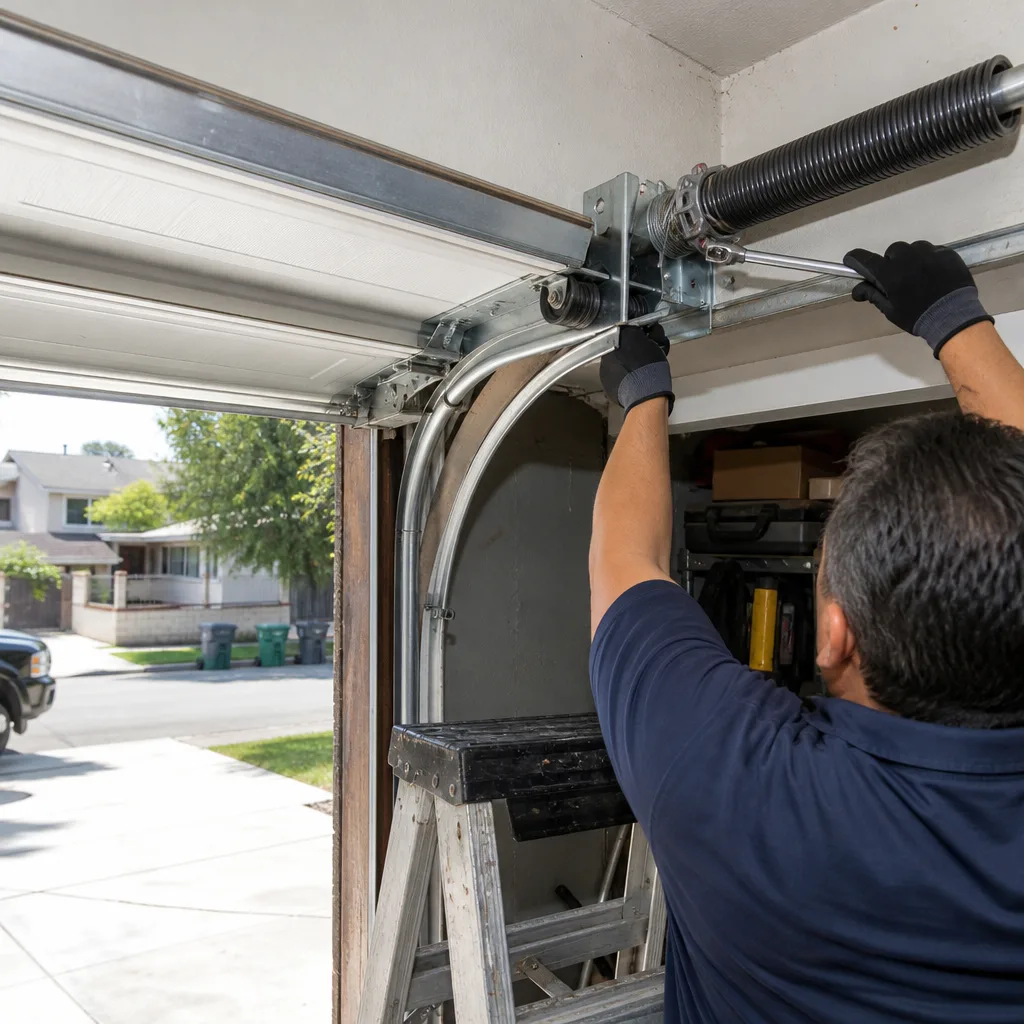 After