
Last updated November 2, 2026
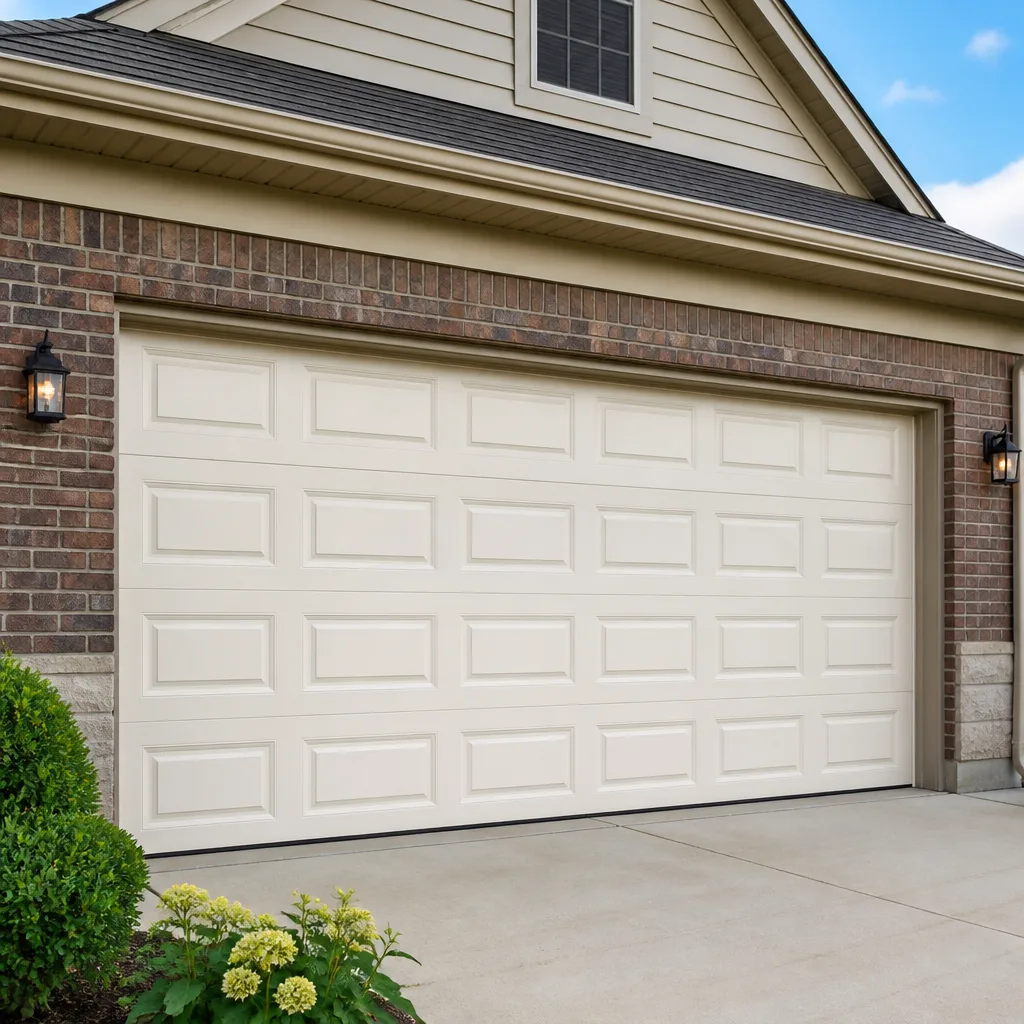 Raised-panel steel
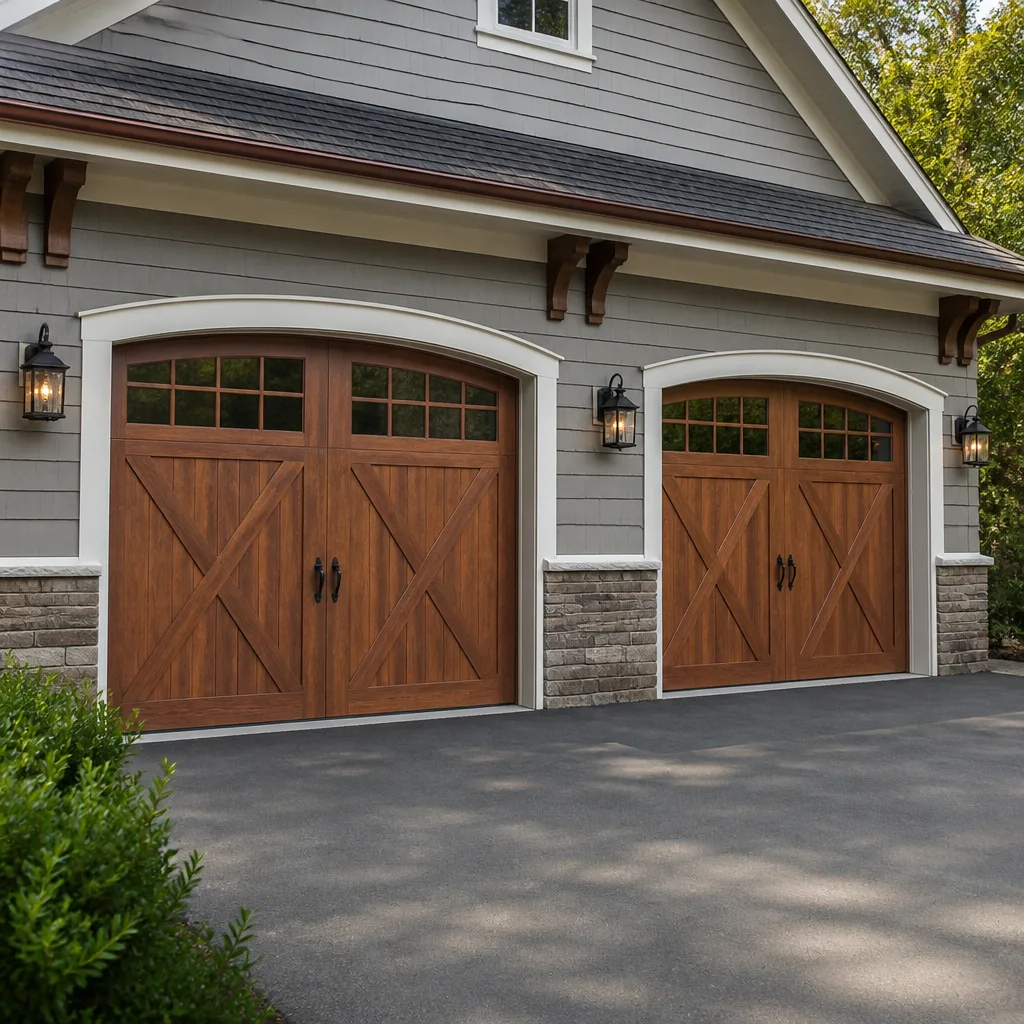 Carriage house
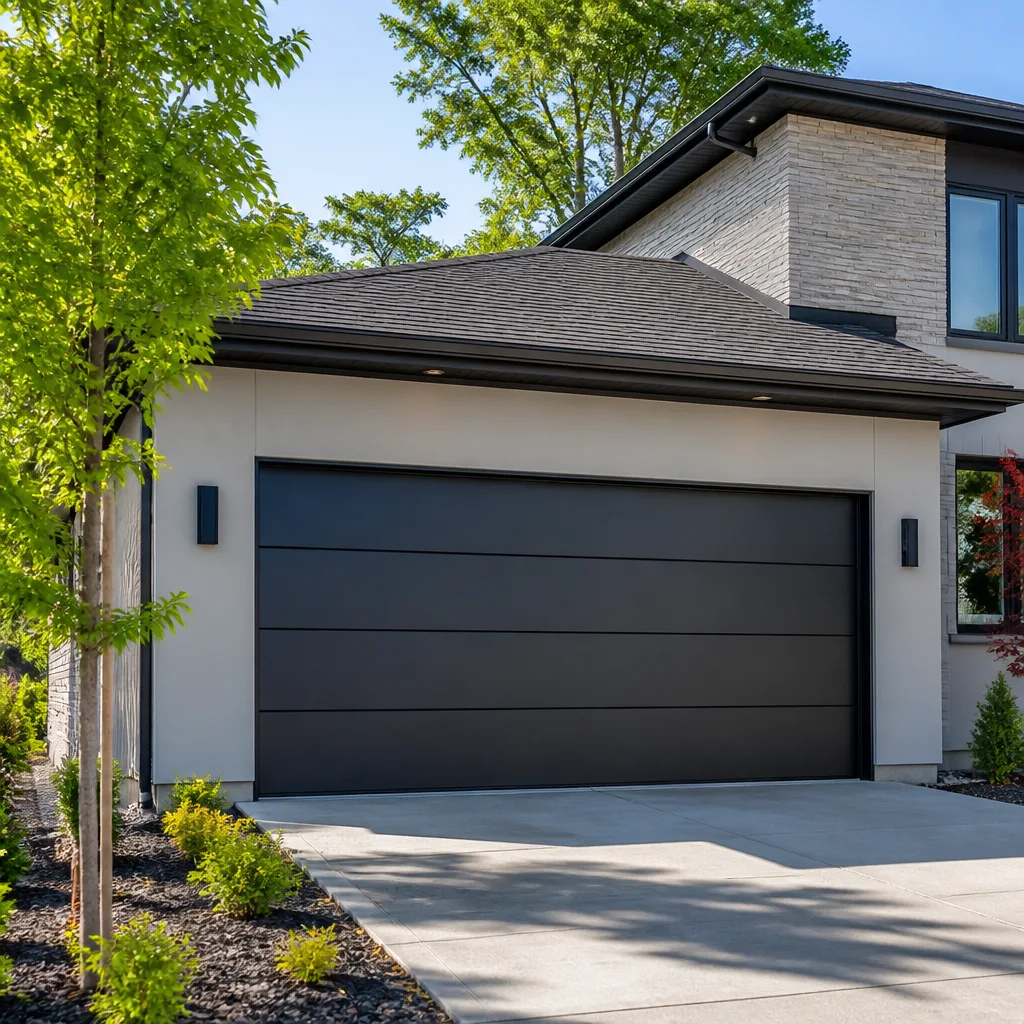 Modern flush
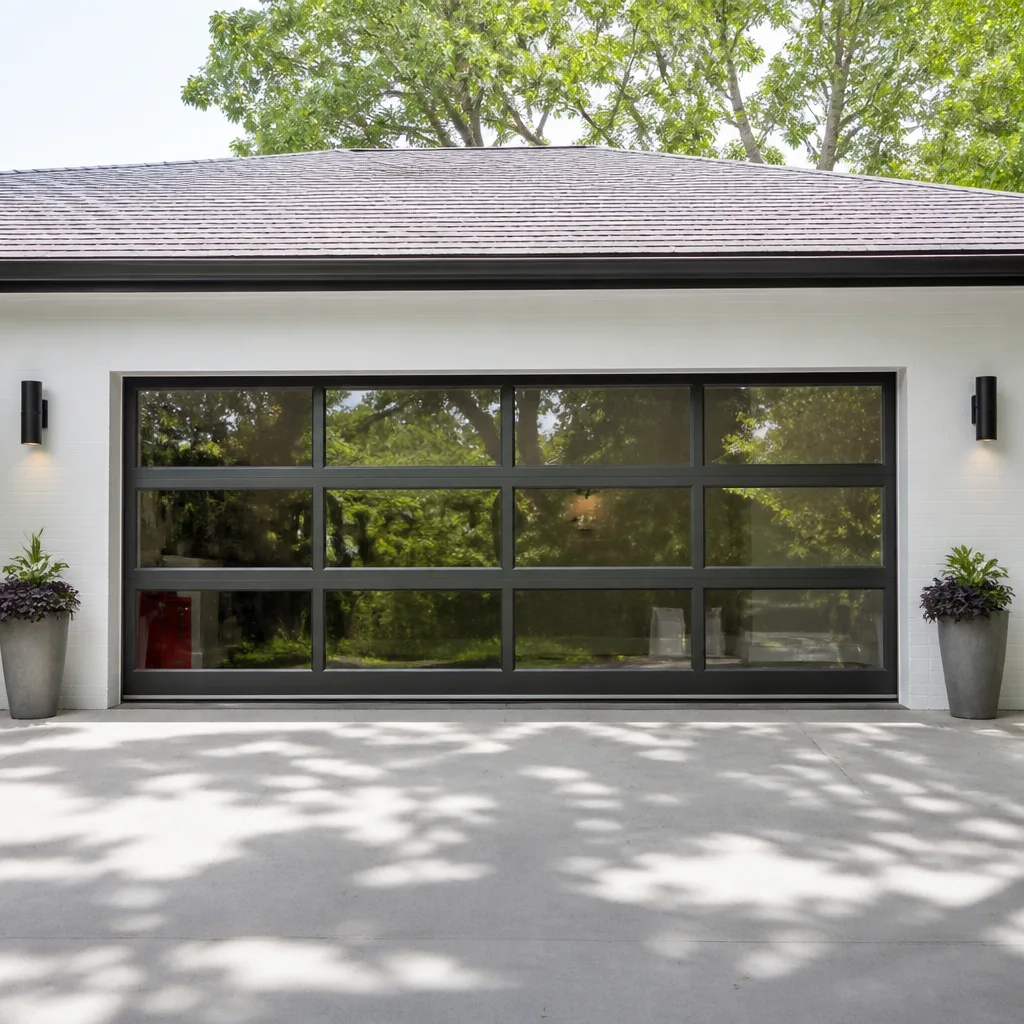 Full-view glass
 LiftMaster openers
 Chamberlain openers
Full 25-point door and opener safety check with every visit - springs, cables, rollers, tracks, and your LiftMaster or Chamberlain opener included
You get a price before we start. It does not change when the truck arrives.
Get your free estimateGarage Door Repair Maintenance Checklist for Inglewood Homeowners
The number-one maintenance item Inglewood homeowners skip isn’t lubrication. It’s checking the door’s balance after a seismic event. Even a minor tremor, the kind you barely feel in your living room, can shift track alignment enough to accelerate spring wear by months. This guide is built for the failure modes we actually see in Southern California: dry heat that bakes lubricants, coastal air that corrodes hardware, and soil movement that quietly misaligns everything. By the time you finish reading, you’ll know exactly what to inspect, what to leave alone, and when to pick up the phone for Garage Door Repair.
Quick Answer
A garage door maintenance checklist for Inglewood homeowners should prioritize balance testing after seismic activity, lubrication with silicone or lithium spray (never WD-40), inspection of corrosion-prone hardware near coastal air, roller and track alignment checks, and a clear separation between DIY tasks and work that requires a specialist to avoid voiding warranties. Most homeowners can self-maintain about 60 percent of what a door needs; the remaining 40 percent, particularly torsion spring work and track realignment, should be handled by a trained professional. For Garage Door Repair Troubleshooting: Common Problems and How to Fix Them, see our detailed guide.
Styles & brands we work with
- Raised-panel steel
- Carriage house
- Modern flush
- Full-view glass
- LiftMaster openers
- Chamberlain openers
Table of Contents
- How to Test Door Balance (and Why Inglewood Soil Makes It Critical)
- The Right Lubricants for SoCal Temperatures
- Corrosion Inspection Points for Coastal Air Influence
- Hardware Torque Check: Fasteners, Hinges, and Brackets
- Roller and Track Inspection After Earthquakes
- Auto-Reverse and Photo Eye Testing
- What You Can Self-Maintain vs. What Requires a Specialist
- A Seasonal Rhythm That Actually Applies to Inglewood
How to Test Door Balance (and Why Inglewood Soil Makes It Critical)
A garage door that’s out of balance puts two to three times the normal strain on its springs. That translates to a spring that fails in six years instead of twelve. Testing balance takes two minutes, and it’s the single most informative maintenance task you can do.
- Close the garage door completely.
- Pull the red emergency release cord to disconnect the opener from the door.
- Lift the door manually to chest height, roughly three feet off the ground.
- Release it gently. A properly balanced door should stay put. If it drops, the springs are losing tension. If it rises, the springs are over-tensioned.
- Reconnect the opener by pulling the cord again until you hear the trolley click back into place.
Here’s the Inglewood-specific part. The soil under this city shifts. We’ve seen doors in neighborhoods like Morningside Park and Hyde Park that slide out of balance not because the springs are old, but because the garage slab itself has settled a quarter inch. That wedge of movement is enough to change how the door sits in its tracks. If your door balances fine in March but drifts badly by October, check whether the concrete near the track base has developed a visible crack. That’s a foundation issue showing up as a garage door problem, and it explains why so many Inglewood doors need realignment that generalist handymen misdiagnose as spring failure. Learn to spot these issues early in our Garage Door Warning Signs: An Inglewood Homeowner’s Reference Guide.
We work across eight major brands, LiftMaster, Chamberlain, Genie, and Raynor among them, and the balance tolerance varies by system. A Raynor torsion spring setup, for example, will complain about a half-inch of settling that a Chamberlain extension system shrugs off. Knowing your brand matters when interpreting what the test tells you. If you’re unsure whether your door’s behavior is normal for its system, compare it against what a brand specialist expects, or call a company that services all eight rather than guessing.
The Right Lubricants for SoCal Temperatures
WD-40 is a solvent, not a lubricant. It strips whatever lubrication was there and leaves a thin film that evaporates within days. In Inglewood’s dry heat, that means a door that was clattering in April will be grinding by June. We say this because it’s the most common mistake we correct.
Three lubricants belong in an Inglewood garage, and each has a specific job:
- White lithium grease spray: For metal-on-metal contact points, hinges, brackets, and the torsion spring coil gaps. It clings at temperatures up to 300 degrees, which matters when your uninsulated garage hits 110 inside during a heat wave.
- Silicone spray: For rollers, tracks, and any nylon or plastic components. It resists dust, which is essential because Inglewood air carries fine particulate that turns grease into grinding paste if you use the wrong product on the wrong part.
- Garage-door-specific spray lubricant: A blend designed for both rollers and hinges. If you’d rather keep one can, this is the one. Most brands sold at hardware stores will work; the key is that it says “garage door” on the label and not “penetrating oil.”
Never lubricate the track itself with anything oily. The rollers sit in the track, but the track doesn’t need lubricant. Oiling it just attracts dust and creates the exact sticky buildup you were trying to prevent. Wipe tracks clean with a dry rag, then leave them alone.
How often to lubricate? Every four months is a solid rhythm for Inglewood. Spring, after winter rains stop, and early fall, before the Santa Ana season kicks up dust. Most doors make a distinct sound when they need it: a dry, tinny creak rather than a deep metallic grind. A creak means lubricate. A grind means something is already wearing and you should inspect before lubricating, because lubricant can mask a failing roller temporarily.
Corrosion Inspection Points for Coastal Air Influence
Inglewood sits close enough to the coast that marine air pushes inland on most mornings. That salt-laden air lands on exposed metal and works quietly. The hardware most homeowners never look at is the hardware most likely to fail first.
Five corrosion inspection points, in order of priority:
- Bottom bracket where the cable meets the door: This steel bracket holds the lifting cable under constant tension. Coastal corrosion here is the leading cause of sudden cable failures we see in Inglewood. Look for rust blooms, flaking metal, or a white powdery residue.
- Spring anchor brackets: The plates that hold torsion springs to the header. They’re under load every second of every day. Corrosion weakens the mounting points, and when a mounting point fails, the spring releases violently.
- Hinge leafs along panel seams: The flat part of the hinge that bolts to the panel faces. Paint on the door protects the panel; nothing protects the hinge face. Check the bottom two hinges first, they’re closest to any moisture that collects on the slab.
- Roller stems: The thin shaft that connects the wheel to the hinge. If the stem is rusted, the roller will bind instead of spin, and the wheel will wear flat on one side.
- Opener rail and chain or belt: The rail on a LiftMaster opener, for instance, runs the length of the garage ceiling. In coastal air, surface rust forms on rails faster than on the door because the rail never gets rinsed by rain. A quick visual check twice a year is sufficient.
If you find surface rust on a bracket, clean it with a wire brush and apply a rust converter. If you find pitting, flaking, or any crack, do not attempt to repair the part. A weakened bracket under spring tension is a failure waiting for the worst possible moment. Replace it, and if you’re not certain how to release the spring tension safely, that’s a call to a professional. Like the Whitestone Garage Door Service home page explains, garage doors are all we do, and we’d rather replace a bracket correctly than read about someone trying to weld one back together.
Hardware Torque Check: Fasteners, Hinges, and Brackets
Every garage door is held together by somewhere between 80 and 120 fasteners, depending on panel count and hardware layout. In Inglewood, the combination of daily open-close cycles and minor seismic vibration loosens them predictably. A door that rattles on the way up is usually a door with five or ten fasteners that have backed off.
Run this check every six months, or after any earthquake strong enough to rattle windows:
- Hinge bolts: Two bolts attach each hinge to each panel. Check all four hinge-to-panel contact points per hinge. If the hinge can move even a millimeter when you press on it, the bolt is loose.
- Track mounting brackets: The brackets that hold the vertical and horizontal tracks to the wall and ceiling. Each bracket has lag screws going into framing. Loose lag screws let the track flex, which widens the gap between roller and track, which accelerates roller wear.
- Opener mounting straps: The metal straps hanging the opener from the ceiling. Vibration from the motor walks the nuts loose over time. A common noise complaint we hear is actually a loose opener mount amplifying vibration.
- Bottom weather seal retainer: The aluminum channel holding the rubber seal at the door’s bottom edge. The screws here get hit with wind and, when a car pulls in too fast, door vibration. Check them when you replace the seal.
Tighten gently. These are self-tapping screws into wood or light-gauge steel, and over-tightening strips the hole. If a screw spins in place, the hole is stripped, and the proper repair is to drill it out and install the next size up, or insert a filler plug and re-drive the screw. Hinge replacement is straightforward for a careful homeowner; stripped lag screws are not. When in doubt, get a professional opinion before the hardware works itself into a binding condition.
Roller and Track Inspection After Earthquakes
Southern California doesn’t fixate on “earthquake season” the way Minnesota fixates on winter, but the ground here moves often enough that your garage door should be treated as a movable system, not a fixed one. A tremor that measures 3.8 in the middle of a workday can leave a track with a two-degree bend that nobody notices until the rollers start eating themselves.
After any earthquake you felt, run this three-step check:
- Look at the gap between roller stem and track edge: On both sides, along the entire vertical run, the gap should look consistent. If one roller sits tight against the track side while the one above it floats free, the track is out of plane.
- Watch the door rise from inside the garage: Stand at the side and watch the rollers pass through the curve where the vertical track meets the horizontal. Any hesitation, wobble, or visible side-to-side movement there means the track has shifted.
- Listen during the closing cycle: A door that closed quietly before the quake and now emits a rhythmic clunk is telling you a track has moved. The clunk is the roller hitting a misaligned section.
If the track is visually bent, do not try to hammer it back. Track straightening is a fine adjustment, not a brute-force job, and a malformed track will shred rollers in a month. If the track is merely shifted, the mounting brackets may need repositioning. That’s also a specialist job, because repositioning changes the door’s geometry and affects spring balance. The same applies to any repair a home warranty might cover; a do-it-yourself track adjustment can void coverage on a component that failed because of the track.
We service doors from Chamberlain, Genie, and every other major brand, and we get called to Inglewood homes where a well-meaning neighbor with a rubber mallet “fixed” a track after a small quake. By the time we arrive, the rollers are flat-spotted and the homeowner is buying four new ones instead of paying for a track adjustment. Right part, right fix, right the first time is how we phrase it.
Auto-Reverse and Photo Eye Testing
The auto-reverse mechanism on your opener is a safety device, not a convenience feature. Federal law requires it to reverse within two seconds of contact with a solid object. The photo eyes near the floor stop the door if anything crosses the beam. Both are easy to test and quietly easy to let go untested for years.
Testing auto-reverse:
- Place a full-sized object squarely in the door’s path. A five-gallon bucket or a wooden sawhorse works. Do not use a person.
- Close the door with the opener.
- The door should reverse direction within two seconds of contacting the object.
- If it doesn’t, stop using the opener immediately. The reversal system has failed.
Testing photo eyes:
- Close the door, then wave a broom handle through the light beam between the two sensors, about six inches off the floor.
- The door should stop and reverse.
- If pressing the close button produces a click but no movement, and the sensor lights are off or blinking, the eyes are misaligned or dirty. Wipe them with a dry cloth and retest.
These tests apply to any brand, but we mention LiftMaster specifically because their current openers include a diagnostic light sequence that tells you exactly what the sensor sees. Homeowners can read the flashing pattern and know whether it’s a misalignment, a wire issue, or something else. Most opener problems do have a simple fix once you know what the system is trying to tell you. The trick is knowing how to speak your opener’s language, and that’s the kind of specific knowledge a dedicated garage door company carries that a multi-trade repair service doesn’t.
If either test fails, a repair is warranted before using the door again. The parts themselves are inexpensive. The cost of someone, often a child or a pet, being in the wrong place when a safety system fails is incalculable. We consider this the one maintenance item that is never optional.
What You Can Self-Maintain vs. What Requires a Specialist
Manufacturers write warranty terms, and those terms define what counts as owner maintenance. Do the wrong thing on a component under warranty and the manufacturer can deny the claim. The line is fairly consistent across Raynor, LiftMaster, Chamberlain, and Genie.
Homeowner-approved maintenance:
- Lubricating hinges, rollers, and springs with the correct products
- Wiping tracks and photo eyes clean
- Tightening accessible hinge bolts and lag screws on track brackets
- Testing balance, auto-reverse, and photo-eye function
- Replacing the bottom weather seal
- Painting the door panels, following the manufacturer’s paint specifications
Specialist-required work:
- Any adjustment, replacement, or winding of torsion springs. These springs hold hundreds of pounds of tension, and a slip during winding can cause severe injury. This is non-negotiable.
- Extension spring replacement. Safer than torsion work but still under meaningful load, and the safety cable installation matters more than most homeowners realize.
- Cable replacement or re-spooling. The cables work with the springs to lift a door that weighs 150 to 400 pounds. If a cable parts during a repair attempt, the door can drop.
- Track realignment or replacement. Changing track geometry changes the door’s entire path of travel.
- Opener circuit board and logic board repair. Brand-specific diagnostics matter here, and swapping the wrong board can brick an otherwise healthy opener.
- Panel replacement on multi-panel doors. The rollers, hinges, and springs are all affected when panel weight changes.
If your door is still under warranty, self-performing anything from the second list usually voids it. The manufacturer’s reasoning is blunt: the failure rates for owner-repaired torsion springs and cables are high enough that they’d rather replace a part under warranty than cover an injury claim.
We carry this distinction because we’ve watched it go wrong. A homeowner in Inglewood with a Chamberlain opener and a willingness to “figure it out” in the garage is not someone we’re trying to scare. We’re trying to make sure the tools they buy are for maintenance, not for a repair that should have been a phone call.
A Seasonal Rhythm That Actually Applies to Inglewood
Most garage door maintenance guides are written around cold climates: winterize before first frost, check weather stripping before snow season, lubricate before the deep freeze. For more guides & resources tailored to Southern California, explore our blog. None of that applies in Inglewood, where garage space more often doubles as a workshop, a studio, or a storage room than a snow shelter. The seasonal rhythm here runs on a different cycle.
Late spring (May-June), after the last rains: Corrosion inspection. The wet season ended, and whatever marine moisture settled on hardware over winter is now drying, which means rust becomes visible. This is the best time to catch and convert surface rust before the dry months bake it into scale.
Late summer (August-September), before Santa Ana winds: Lubrication and dust management. Santa Anas blow fine dust into every gap. Silicone spray on rollers and white lithium on hinges just before wind season means the dust lands on a clean film instead of grinding against metal.
After any felt earthquake: Balance test and track inspection. This is the Inglewood-specific addition that most generic checklists miss entirely, and it’s the one most likely to save you money.
Every four months, regardless of season: Fastener torque check, auto-reverse test, photo eye test. These are not seasonal, they’re wear-based, and four months is the right interval for a door that cycles four to six times a day.
If you’ve missed all of this and you’re starting from zero, run the full checklist once now, then ease into this rhythm. The goal isn’t to become a garage door technician. It’s to know what to look for, catch problems while they’re still cheap to fix, and know when to have a professional look.
Common Mistakes to Avoid
- Using WD-40 as a lubricant: It’s a solvent, not a lubricant. It will strip the existing lubrication from hinges and rollers, and in Inglewood’s dry heat, the thin film it leaves evaporates quickly. The door will be louder and looser within weeks.
- Skipping balance testing after a tremor: A 3.5 earthquake may feel inconsequential, but it can shift the track enough to change spring loading. The door still opens and closes, so everything seems fine, but the springs are now doing asymmetric work and wearing unevenly.
- Oiling the tracks: Tracks should be clean and dry. Oil in the track attracts dust, and in coastal air, the dust carries salt. The result is an abrasive paste that wears rollers flat and gums up the tracks.
- Tightening loose fasteners too aggressively: A stripped screw hole turns a two-minute tightening job into a hardware replacement. Let the threads seat naturally; when the screw stops, you’re done.
- Attempting DIY torsion spring work: A torsion spring holds enough tension to kill or maim. Watching a video doesn’t change that. This is the line where saving money becomes risking everything, and no homeowner in Inglewood should cross it.
- Ignoring a noisy door because “it’s always made that sound”: A door that’s always made a clunk is a door that has always had a misalignment. The sooner it’s diagnosed, the less it costs to correct. Noise is information; usually it’s telling you something specific.
See the difference
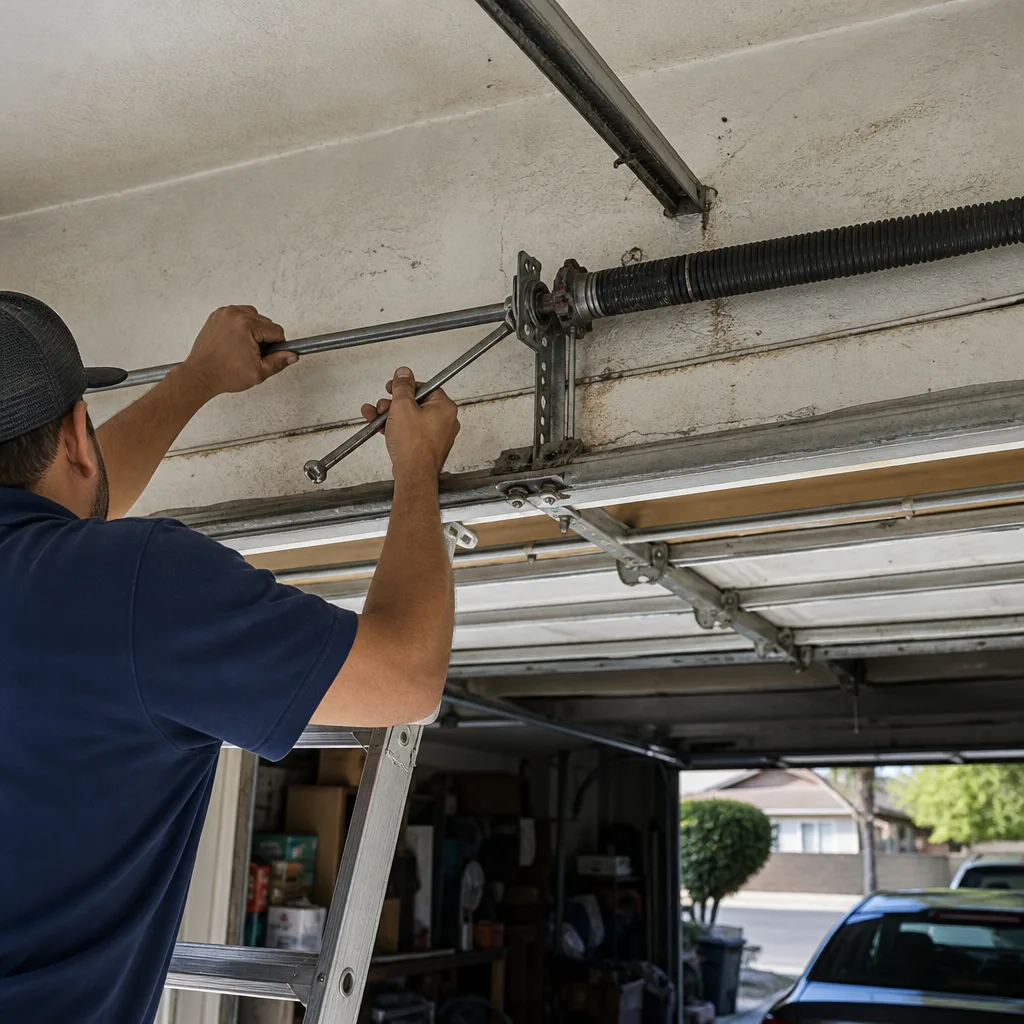 Before
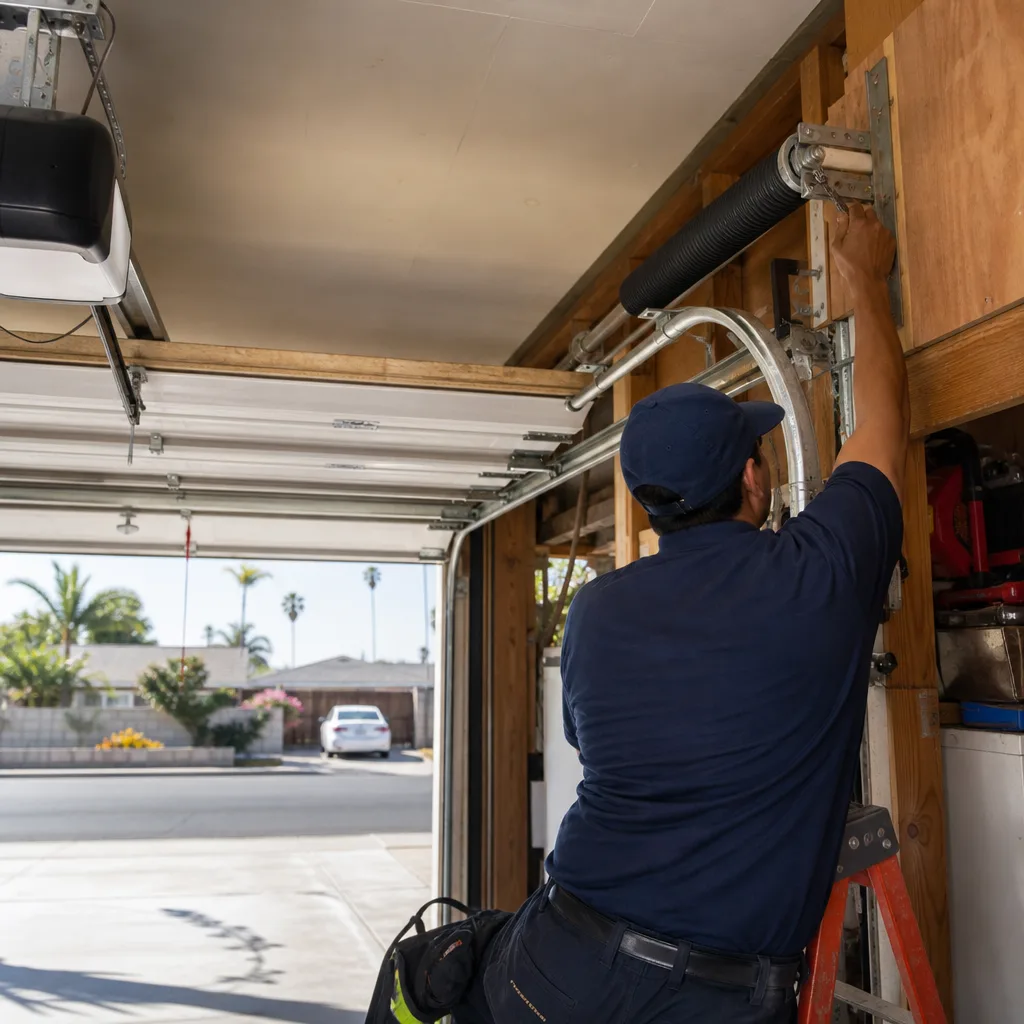 After
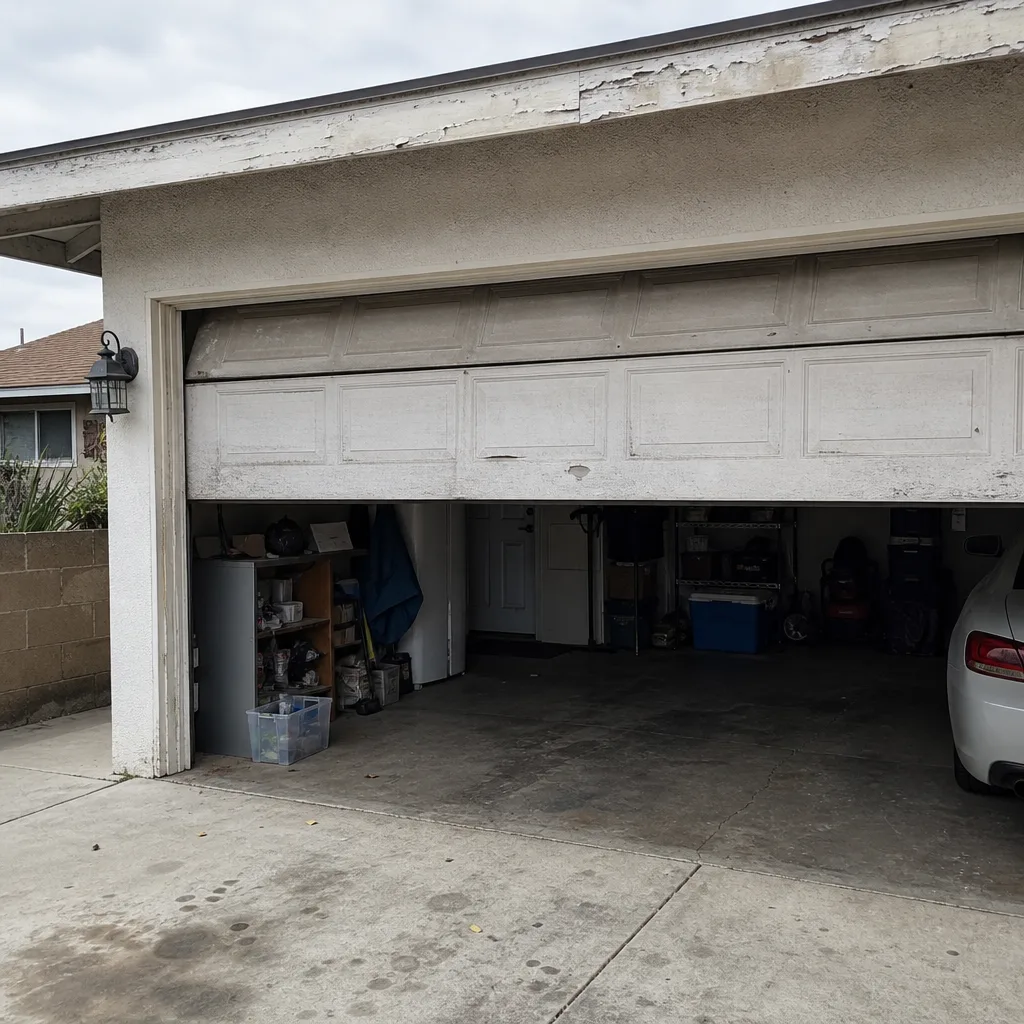 Before
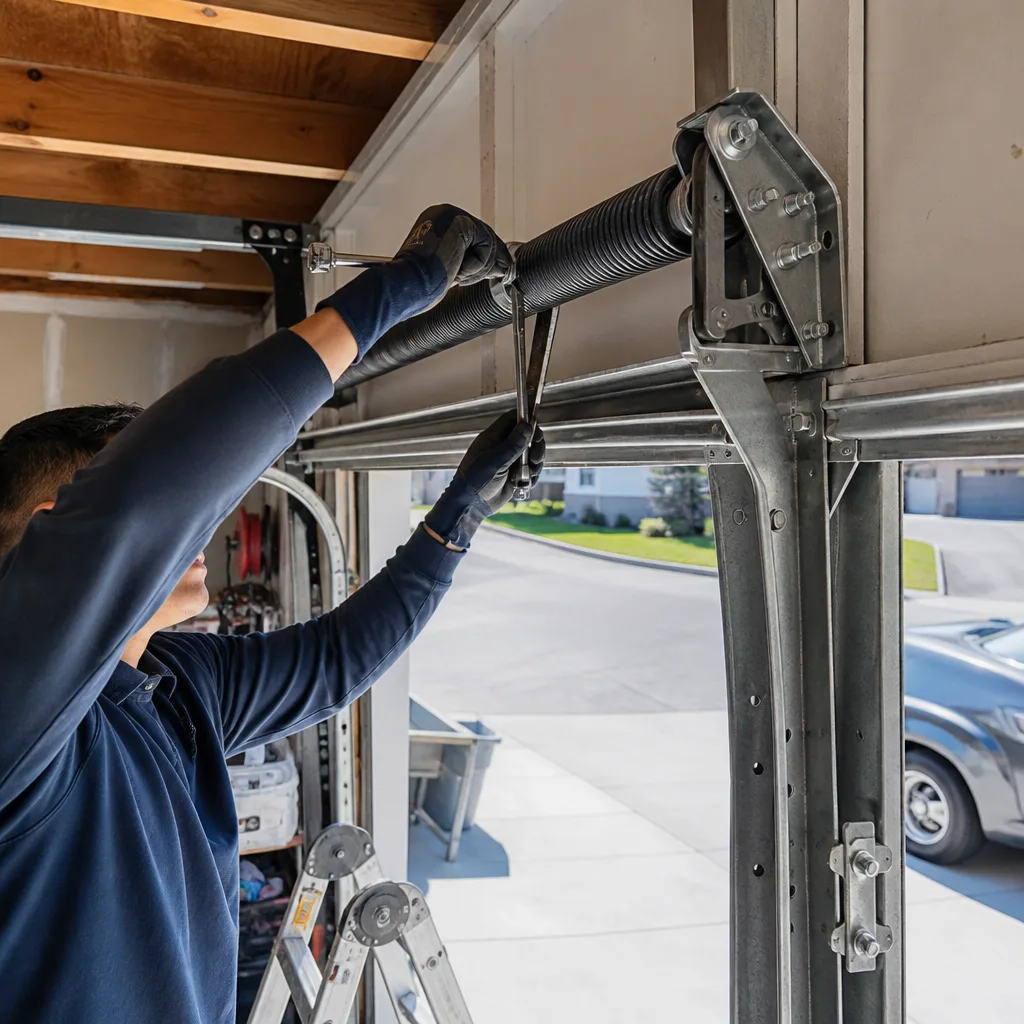 After
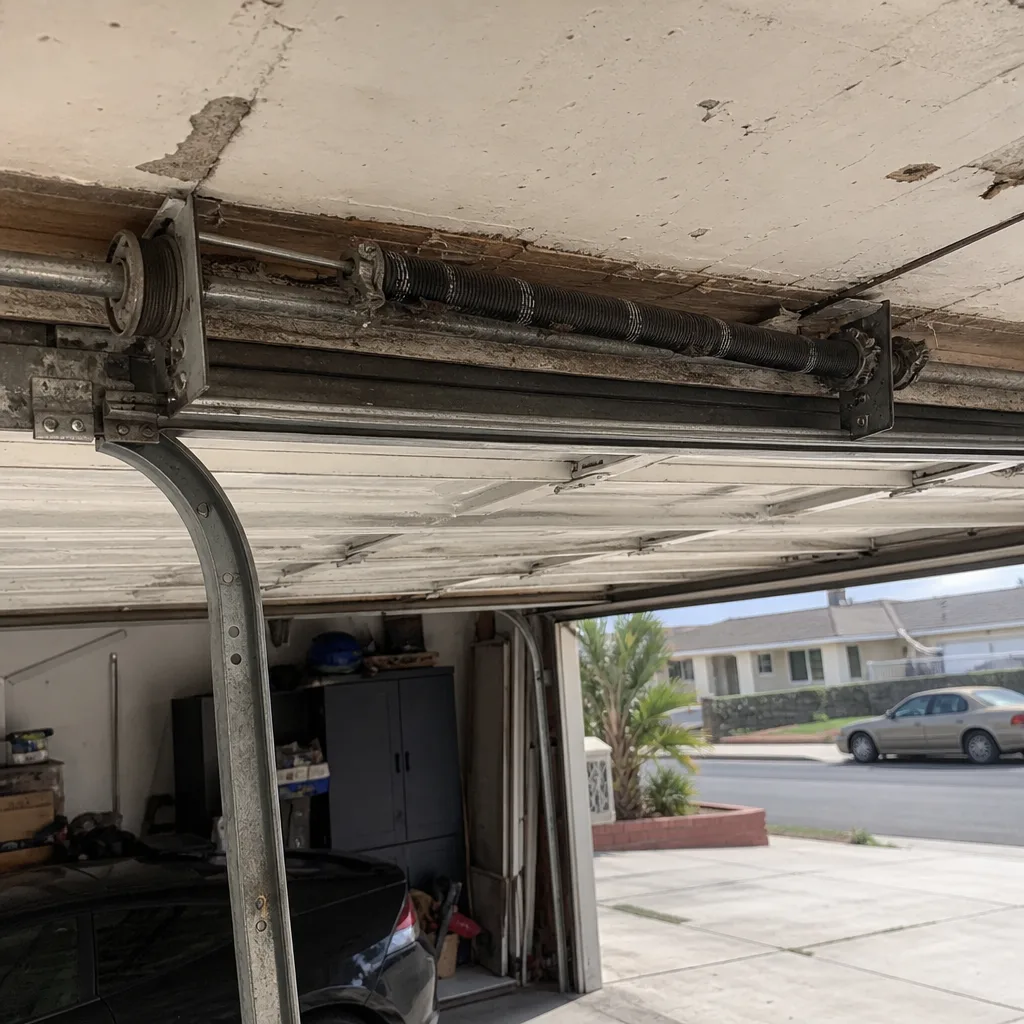 Before
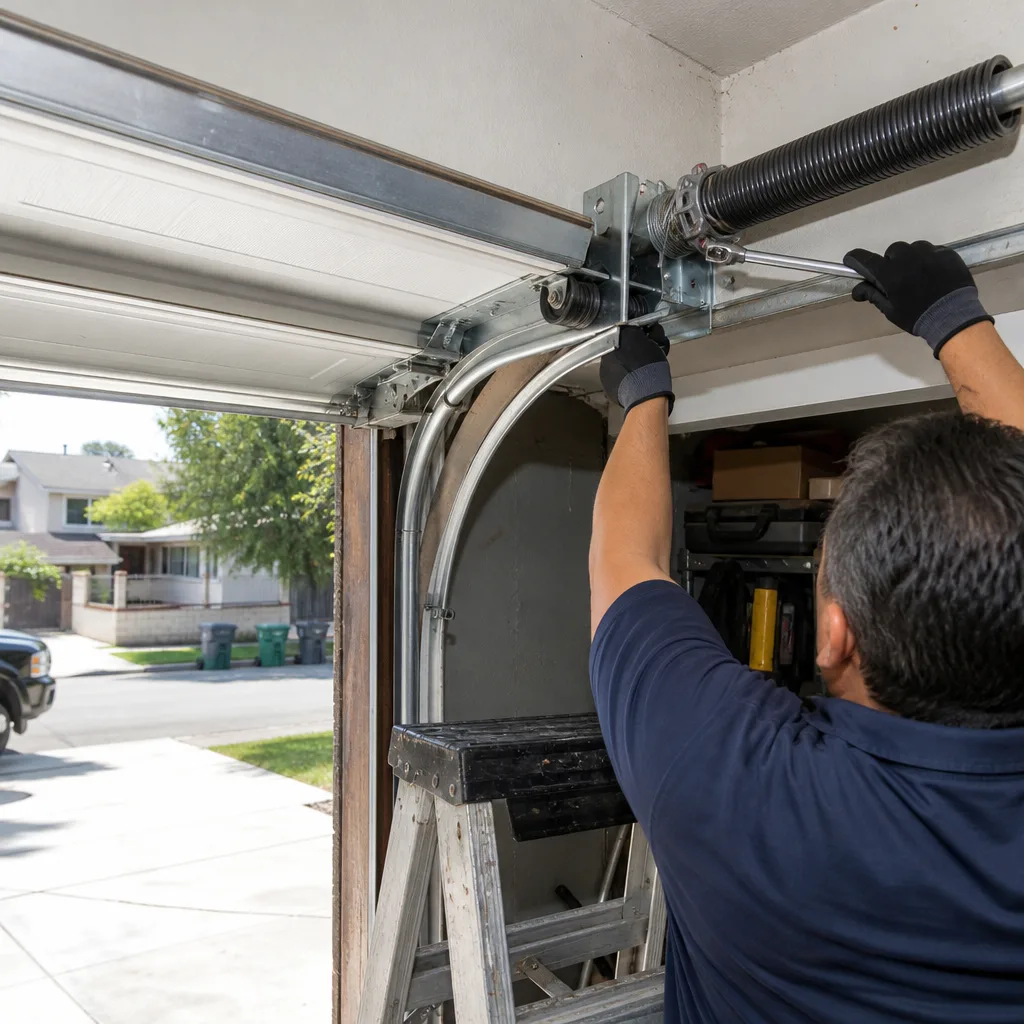 After
When to Call a Professional
Certain conditions are not maintenance issues. They’re failures in progress. A door that visibly sags on one side, that drops quickly when you release the manual handle, that makes a sharp snapping sound during operation, or that refuses to reverse when it hits an object is a door that needs professional attention now. Springs that are starting to bulge or show a separation in the coil gap are giving you a warning, and the warning is not “keep using it.” Garage door springs fail completely and suddenly, never slowly.
Whitestone Garage Door Service offers free estimates in Inglewood. Call (866) 753-8675. If your door is under warranty, a documented professional inspection is often the very thing that protects your coverage. If it isn’t, a proper diagnosis beats replacing parts by guesswork. We’d rather spend twenty minutes identifying a $30 fix than have you spend $300 replacing parts that were never the problem.
Frequently Asked Questions
A typical maintenance visit in Inglewood runs between $75 and $150, depending on what’s included. A full inspection with lubrication, hardware tightening, balance testing, and safety system checks is on the higher end. The cost of not maintaining is higher: a broken torsion spring runs $180 to $350 to replace, and a snapped cable that takes out a panel can push a repair past $500. Call (866) 753-8675 for a free estimate, and you’ll know the exact number before any work starts.
Run a full maintenance check every four months, with additional balance and track inspections after any earthquake you notice. The four-month interval is based on normal daily use. If your household cycles the door more than six times a day, or if you live in a neighborhood with sustained marine air exposure, move to every three months.
No. With Whitestone Garage Door Service, the price is quoted and agreed before any work starts. What we find on inspection doesn’t change the agreed number unless you approve a separate repair. You’ll know the cost up front, in writing, before we touch the door.
We service eight major brands, LiftMaster, Chamberlain, Genie, Clopay, Amarr, Wayne Dalton, Craftsman, and Raynor, and our trucks are stocked for the most common repairs across all of them. That means most same-visit repairs are completed same-visit, not scheduled for a return trip. If a specific part isn’t in stock, we tell you up front and schedule the return rather than improvising with the wrong component.
Marine air carries inland much farther than people expect. Inglewood’s morning cloud layer brings moisture and salt from the Pacific on most days, and particularly in summer. The bottom brackets, spring anchors, and roller stems on Inglewood garage doors show measurable corrosion on inspection far more often than inland neighbors like Mid-City or Leimert Park. A twice-yearly visual inspection is enough to catch it early.
Yes, if you’re comfortable with basic wiring and can follow the manufacturer’s instructions exactly. But the opener is the most safety-critical and smart-home-integrated component of the system. A wrong installation can defeat the auto-reverse, mismount the safety sensors, and create a door that closes unexpectedly. If you want the security of knowing it’s done to the manufacturer’s specification, a professional installation is worth the cost. The same applies if you’re looking at opener repair when the unit fails.
The Bottom Line
An Inglewood garage door lives a harder life than it looks like from the curb. Heat, dust, coastal corrosion, and the occasional earthquake all work against it quietly. The maintenance that matters is the maintenance that matches those specific stresses: balance testing after any felt tremor, corrosion checks on the hardware most people never see, the right lubricants at the right interval, and safety system tests that are never optional. Most of it you can do yourself in under a half-hour. The rest, the springs, the cables, the track geometry, belongs to people who do this every day. Whether you need a new door installed or just a second opinion on a noise you don’t like, your door, our specialty.
Written by the team at Whitestone Garage Door Service, serving Inglewood since 2018.