
Last updated November 2, 2026
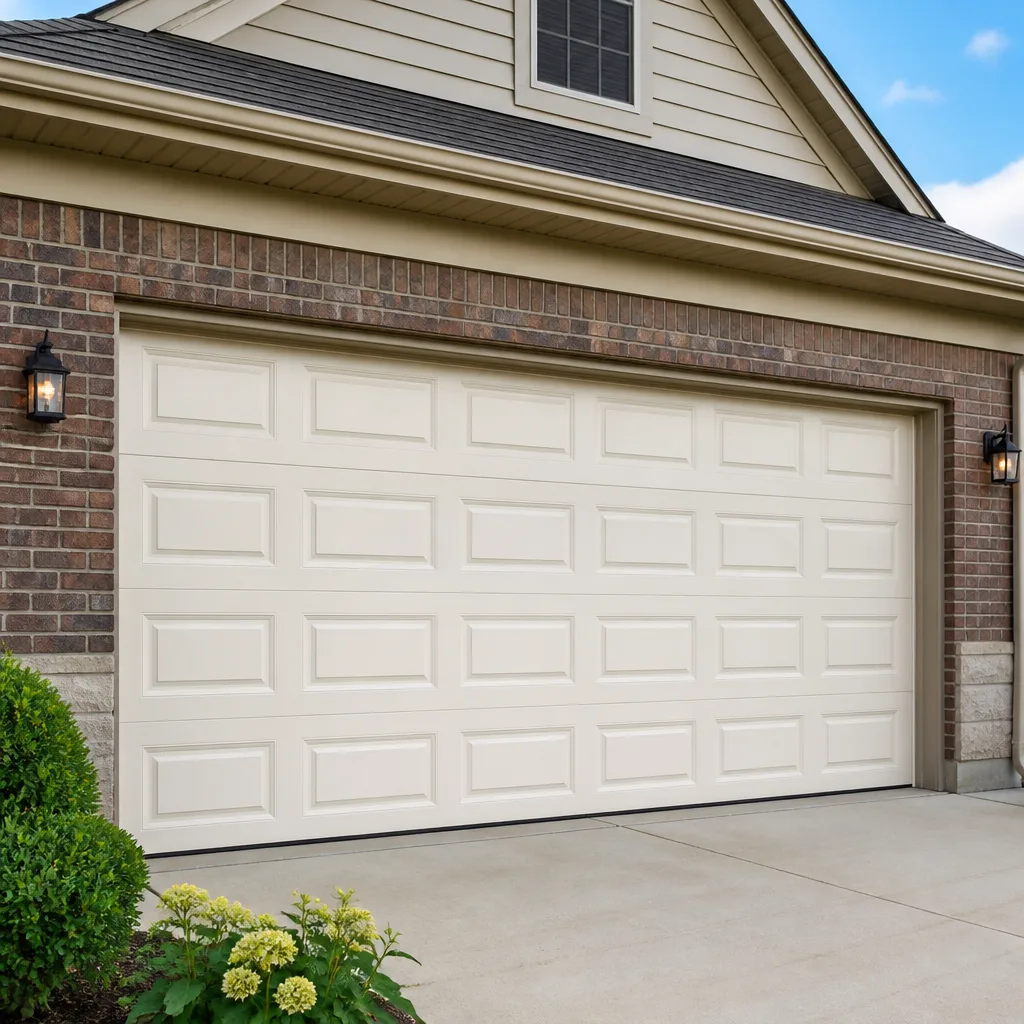 Raised-panel steel
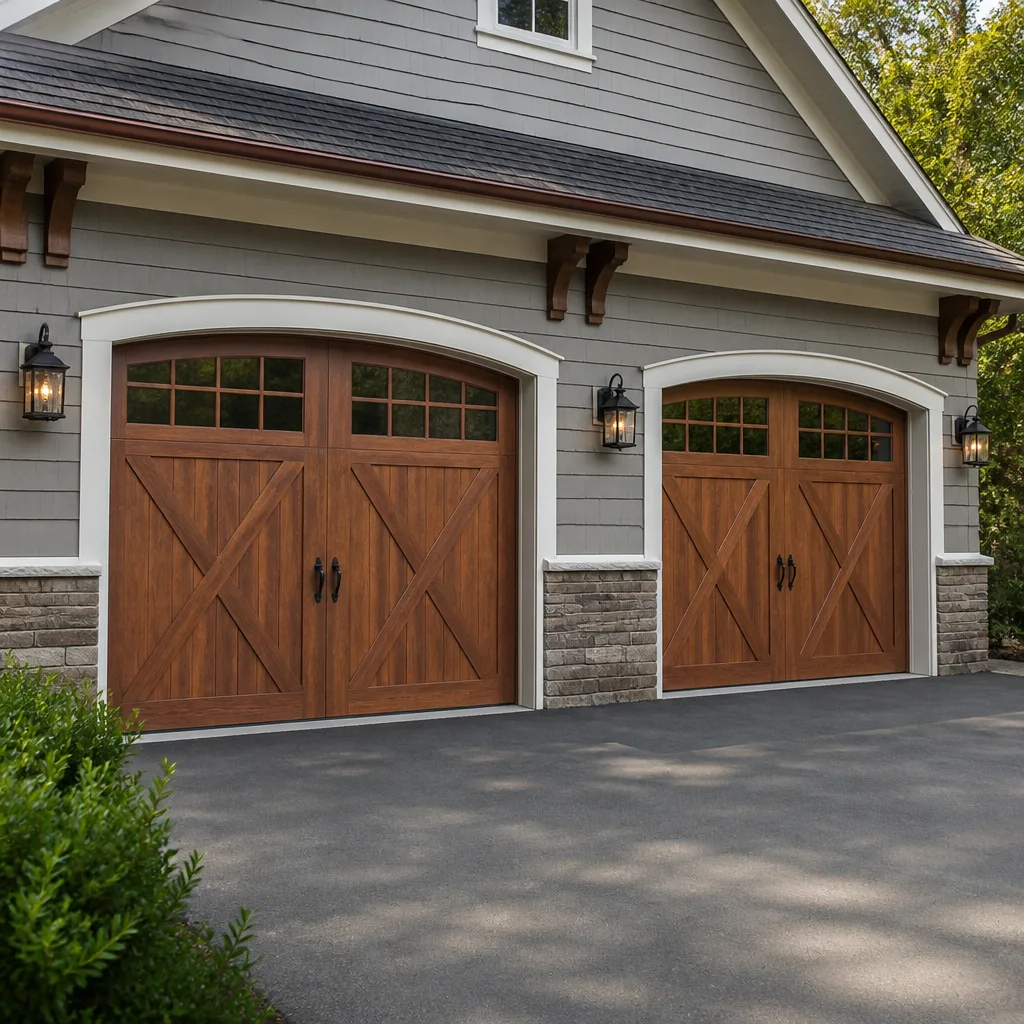 Carriage house
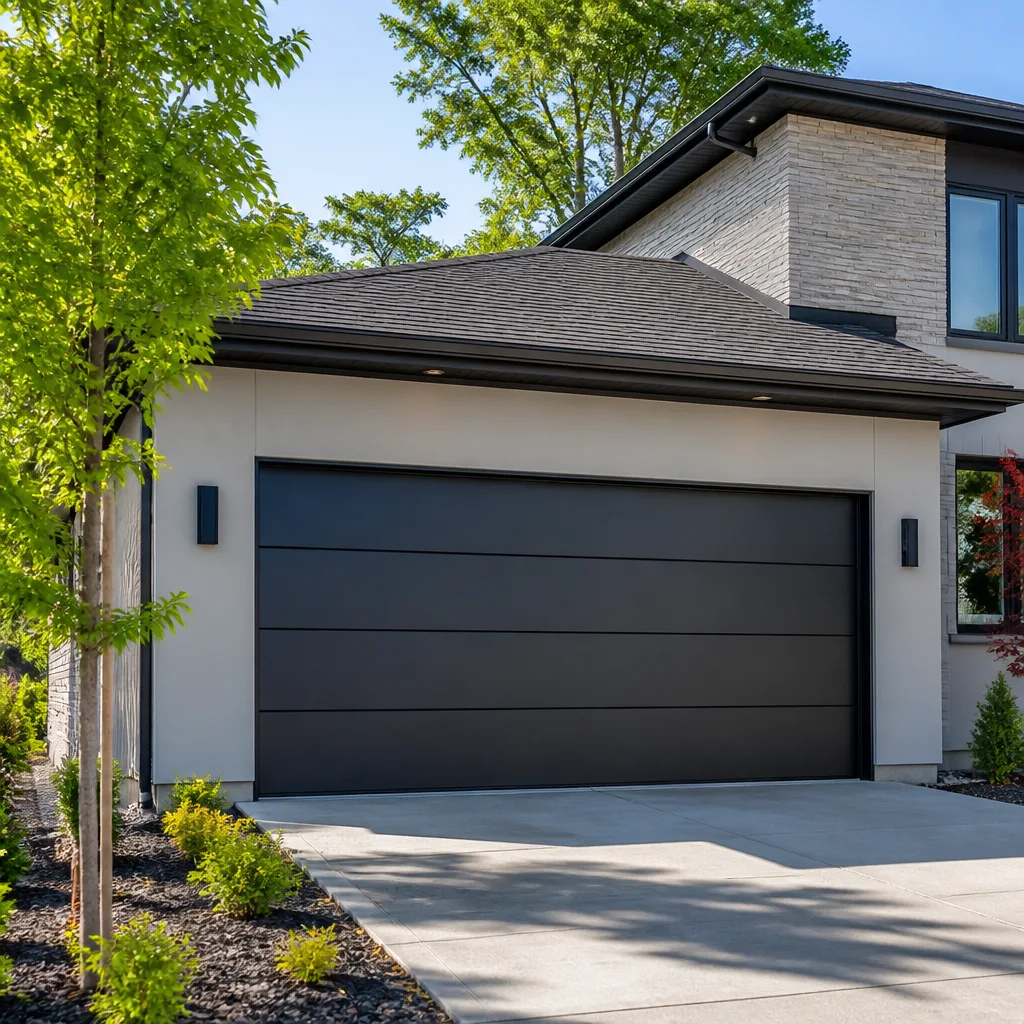 Modern flush
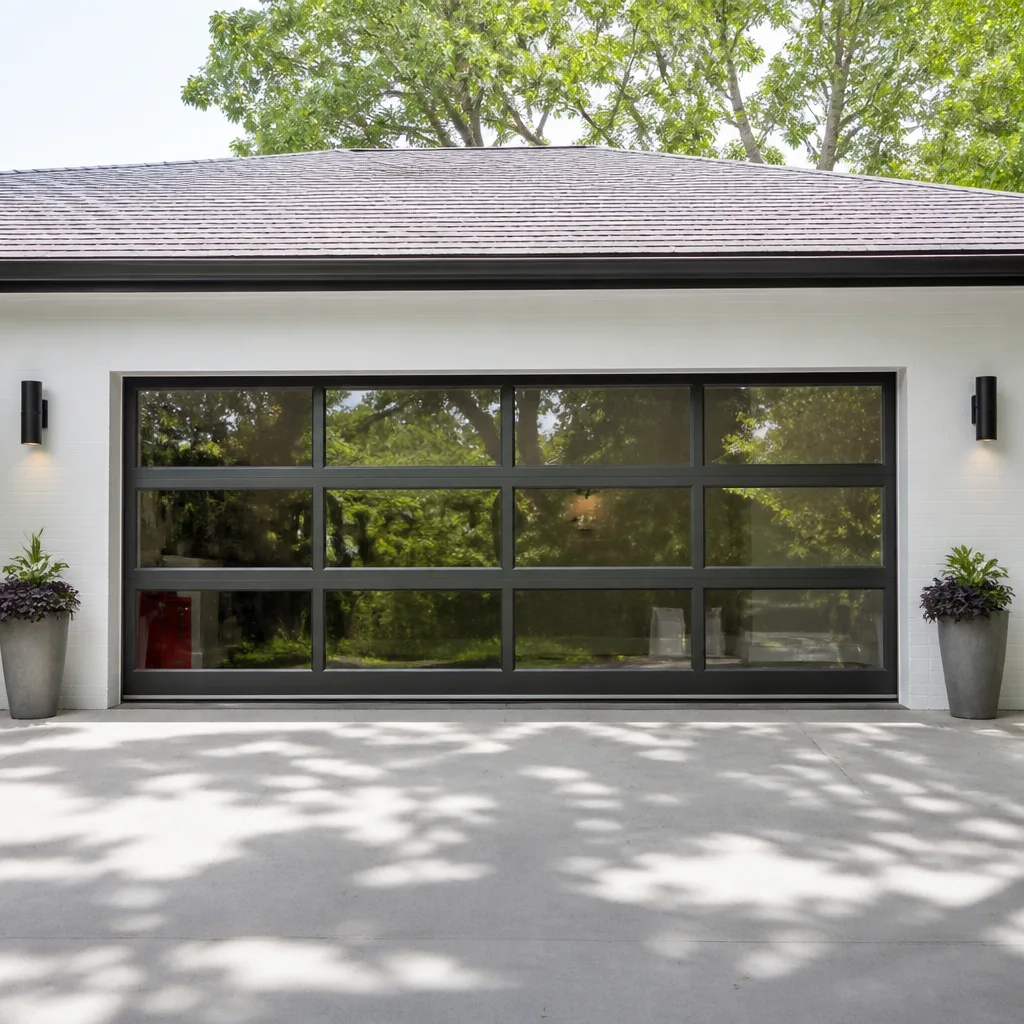 Full-view glass
 LiftMaster openers
 Chamberlain openers
Full 25-point door and opener safety check with every visit - springs, cables, rollers, tracks, and your LiftMaster or Chamberlain opener included
You get a price before we start. It does not change when the truck arrives.
Get your free estimateDIY vs Professional Garage Door: The Inglewood Homeowner’s Decision Guide
Here’s a number that should stop you cold if you’re considering DIY garage door work: torsion springs under tension can release roughly 800 pounds of force in a fraction of a second when they snap or slip. That’s not a scare tactic pulled from a safety manual. It’s the physics reality of the component responsible for lifting a 150-to-250-pound door every time you press the opener button. In Inglewood, where garage doors cycle through extreme heat in summer and salt-tinged coastal air in winter, springs and cables wear faster than homeowners expect. This guide draws a clear line between what’s genuinely safe to tackle yourself, what requires caution and knowledge, and what should never be attempted without training. You’ll learn the real cost breakdown beyond labor savings, how California permitting and insurance interact with DIY garage door work, and the middle-ground prep tasks that reduce professional labor time.
Styles & brands we work with
- Raised-panel steel
- Carriage house
- Modern flush
- Full-view glass
- LiftMaster openers
- Chamberlain openers
Quick Answer
Most garage door maintenance in Inglewood is safe for a competent DIYer: lubricating rollers and hinges, tightening visible bolts, cleaning photo-eye sensors, and replacing remote batteries. But anything involving torsion springs, lift cables, or opener-motor disassembly should be left to a professional. Those components are under high tension or connected to electrical systems, and mistakes carry real injury risk. For the honest middle-ground tasks, the decision comes down to tool costs, time, and whether a botched job voids the door’s warranty or creates a code compliance issue.
Table of Contents
- What’s Genuinely DIY-Safe: The No-Drama Task List
- The Danger Zone: Springs, Cables, and Why Physics Doesn’t Negotiate
- The Real Cost Breakdown: Tools, Time, and Redo Risk
- California Code, Permits, and Insurance: What Changes When You DIY
- The Middle Ground: Prep Work That Cuts Professional Labor Time
- How to Assess Your Own Skill Level Honestly
- Common Mistakes to Avoid
- When to Call a Professional
- Frequently Asked Questions
- The Bottom Line
What’s Genuinely DIY-Safe: The No-Drama Task List
Let’s start with what you can absolutely handle without calling anyone. These tasks require no specialized tools, no spring tension exposure, and no risk of voiding a warranty. In Inglewood’s climate, some of these matter more than they would in, say, Portland. The dry summer heat and occasional Santa Ana winds coat garage door tracks and hinges with fine dust faster than many homeowners realize.
Lubrication
Every six months, hit the rollers, hinges, and track with a garage-door-specific lubricant. Not WD-40. A lithium-based grease or silicone spray made for garage doors. WD-40 displaces water but doesn’t leave lasting lubricant film. In Inglewood, where summer temperatures regularly push into the 90s, lubricant breaks down faster than in cooler climates. Twice a year is a reasonable cadence.
Photo-Eye Sensor Cleaning
If your door reverses for no reason or refuses to close, check the photo-eye sensors at the bottom of the track. Clean the lenses with a soft cloth. Make sure they’re aligned. This is the number-one no-tool fix for “my door won’t close” service calls, and it takes five minutes.
Bolt Tightening
Garage doors vibrate. Every cycle shakes hardware loose. Grab a socket set and tighten visible nuts and bolts on the track brackets and hinges. Don’t touch anything connected to a spring. Track brackets and hinge bolts are safe.
Remote and Keypad Batteries
Dead remote? Replace the battery before assuming the opener is shot. Same for the wall-mounted keypad. This sounds obvious, but it’s the second-most-common non-issue behind dirty sensors.
Balance Test (Diagnostic Only)
Disconnect the opener by pulling the red emergency release handle. Manually lift the door halfway. If it stays put, the springs are doing their job. If it drops or rises on its own, the springs are worn or improperly tensioned. Note the result. Don’t try to fix it yourself. This test tells you something useful without exposing you to risk.
These tasks sit firmly in DIY territory. They require no permit, no specialized tools beyond a socket set, and no exposure to stored energy. If you’re looking for a sense of accomplishment, this is where you get it safely.
The Danger Zone: Springs, Cables, and Why Physics Doesn’t Negotiate
This is where the guide’s core argument lives. The DIY-vs-professional decision isn’t about how handy you are. It’s about which components can hurt you and which can’t. Torsion springs, lift cables, and opener motors sit in a different category from dirty sensors.
Torsion Springs
A torsion spring mounted above the door stores mechanical energy every time the door closes. When that spring breaks, it releases that energy explosively. The steel bar running through the spring is under enough torque to fracture bone or cause serious injury if improperly handled. Professional technicians use hardened steel winding bars of a specific diameter. A screwdriver or any improvised tool is not a substitute. Not even close. In our experience, the most common serious garage-door injuries we hear about involve someone substituting a tool for a proper winding bar. The spring itself costs $40 to $90. The risk-adjusted cost of doing it yourself isn’t a comparison worth making.
Lift Cables
The cables running along each side of the door are also under tension. When they fray or snap, they can whip. If you’re on a ladder near the door when that happens, the result can be a fall or worse. Cable replacement also requires de-tensioning the springs first, which is the same dangerous territory as spring work. These two systems are inseparable in terms of risk.
Opener Motor Disassembly
Openers contain both electrical components and a gear train. Opening the motor housing means working with 120-volt wiring and small, finely-tensioned parts. Unless you’re comfortable with residential electrical work and have the specific replacement parts for your Chamberlain or Genie opener, this isn’t a weekend project. Even simple-sounding opener fixes often require diagnostics that distinguish between a failed logic board, a stripped gear, or a misaligned travel limit.
The Bottom Line on Risk
If a component stores energy or connects to residential voltage, don’t DIY it. The injury risk isn’t theoretical. Emergency room data has consistently shown garage door springs as a leading cause of home-mechanical injuries, and the typical profile is a capable homeowner attempting a repair without proper winding tools. For guidance on handling unexpected failures safely, see our Garage Door Emergency Preparedness Guide for Inglewood Homes. If this is you, stop. Call someone who does this every day.
The Real Cost Breakdown: Tools, Time, and Redo Risk
The most common DIY motivation is saving money. Fair. But the actual math is messier than the labor-savings figure most people calculate. Here’s what a realistic breakdown looks like for the two most common repair categories.
Torsion Spring Replacement
| Cost Category | DIY | Professional |
|---|---|---|
| Parts (pair of springs) | $80 – $180 | $120 – $220 (markup baked into quote) |
| Winding bars | $30 – $60 | Included |
| Time | 4-6 hours for first-timer | 45-90 minutes |
| Warranty | Parts only, no labor | Parts and labor typically 1-5 years |
| Redo risk | High if tension is off | Low |
| Injury risk | Serious | Minimal for homeowner |
Look closely at the time figure. A first-time spring replacement is a four-to-six-hour job that a professional completes in under two. That’s not because professionals are magically faster. It’s because they’ve done it hundreds of times, have the right tools already, and aren’t watching YouTube tutorials between steps. Your time has value. So does the risk of getting the tension slightly wrong and having to redo the job or, worse, having the door operate unsafely for months before you notice.
Opener Replacement
| Cost Category | DIY | Professional |
|---|---|---|
| Opener unit | $150 – $350 | $250 – $500 (unit + markup) |
| Mounting hardware | Usually included | Included |
| Tools needed | Drill, ladder, level, socket set | All included |
| Time | 3-5 hours | 2-3 hours |
| Programming | Self-guided | Done for you, tested |
| Disposal of old unit | Your problem | Handled |
Opener replacement is more DIY-feasible than spring work if you’re comfortable on a ladder and can follow instructions precisely. But the programming step is where many DIY jobs stall. Today’s openers, including most Chamberlain and Genie models, connect to home Wi-Fi and phone apps. If the pairing fails, you’re stuck with a very quiet, very stationary door until you troubleshoot it. Professionals carry the diagnostic tools and can test the full safety-reversal system before they leave. That’s not a trivial difference.
California Code, Permits, and Insurance: What Changes When You DIY
California treats garage doors differently than most homeowners assume. Here’s what you need to know before deciding.
Permit Requirements
Most garage door repairs in Inglewood do not require a permit. Replacing springs, cables, rollers, or the opener itself falls under routine maintenance. Full door replacement is also generally permit-exempt when it’s a like-for-like swap. But if you’re changing the door’s structural opening dimension, the framing, or adding a new opening, you’re into building-permit territory. That’s rare for residential repair work, but it’s a line you don’t want to cross without knowing it. Inglewood’s building department enforces standard California Building Code requirements. A quick call to their office before any structural change is insurance against a future code violation.
Insurance Implications
This is the part most DIY guides skip. Homeowner’s insurance typically covers garage door damage from storms, vehicle impact, or fire. It does not cover self-inflicted repair damage. If you attempt a spring replacement, injure yourself, and need medical attention, your health insurance may cover you. But if your botched repair causes damage to the door, the track, or the opener, your homeowner’s policy may deny the claim on the grounds of unpermitted or unqualified work. Some policies have explicit exclusions for self-performed repairs that require professional licensing. Others are silent on the issue, which means you’re gambling on the adjuster’s interpretation.
The Warranty Factor
Most garage door manufacturers, including Amarr and Clopay, void the door’s warranty if non-certified work causes damage. If a DIY spring replacement goes wrong and bends the door panel, the manufacturer isn’t covering that panel. If a professional service performs the same repair, their work is typically covered under their own workmanship warranty. You’re buying more than labor. You’re buying accountability. In Inglewood, where many homes feature premium Clopay or Amarr doors with 10-year-plus warranty coverage, losing that warranty is a silently expensive mistake.
The Middle Ground: Prep Work That Cuts Professional Labor Time
Most guides present a binary: DIY everything or DIY nothing. The realistic middle path is better. There’s a set of prep tasks you can do before a technician arrives that genuinely reduces labor time and total cost. These are safe, require no specialized tools, and give you confidence that you’re not paying $100/hour for someone to move bicycles out of the way.
- Clear the garage floor. The tech needs a clean work zone. Moving boxes, bins, and bikes out of the way before they arrive saves 10-20 minutes of billed time. This is pure win.
- Photograph the door’s current condition. Take photos of the springs, cables, rollers, and opener from several angles. This helps if you’re shopping quotes by phone. A picture tells a technician more than a description ever will.
- Write down the door’s symptoms. When did the problem start? What does it sound like? Does the door reverse on its own? Does it only stick in hot weather? In Inglewood’s heat, doors with worn rollers often bind more in summer. Specific symptoms speed up diagnosis.
- Locate the opener brand and model. Check the motor housing for a Chamberlain, Genie, or LiftMaster label. Write down the model number. This helps the technician bring the right parts on the first visit.
- Perform the balance test described earlier. Disconnect the opener and check whether the door stays at the halfway point. Write down the result. This single diagnostic tells a technician a lot about spring condition before they ever arrive.
These five tasks take under an hour and cost nothing. They also signal to the technician that you’re an informed homeowner, which tends to produce a more efficient visit. You’re not doing the repair. You’re making the repair faster and more accurate. That’s the smart middle ground.
How to Assess Your Own Skill Level Honestly
The hardest part of any DIY-vs-professional decision is honest self-assessment. Here’s a practical, no-vague-answers approach. Answer these diagnostic questions truthfully.
Question 1: Have you ever worked with stored-energy systems before?
Have you ever replaced a strut on a car? Rebuilt a bicycle suspension fork? Adjusted the tension on a bandsaw blade? Those tasks involve understanding how stored energy behaves and how to release it safely. If the answer is no, garage door springs are not the place to start learning. The penalty for error is too high.
Question 2: Do you own the specific tools, or would you buy them for this one job?
If you don’t own winding bars, a torque wrench, and a quality set of sockets, factor in the tool cost. One-time use tools don’t pay for themselves on a single repair. They make sense only if you anticipate repeated use or if the tool cost plus parts still comes in well under the professional quote.
Question 3: What is your fallback plan when it goes wrong?
If you’re mid-repair with the spring half-wound and something slips, what do you do? The honest answer for most homeowners is: call someone. And that someone will charge the same price they would have charged before you started, plus a premium for fixing your partial work. If your fallback plan is “hope nothing goes wrong,” you’re not ready.
Question 4: Is the door under active warranty?
If your Amarr or Clopay door is under warranty, DIY work on the tension system voids the warranty. The quiet math is this: a $200 DIY savings today can cost $800 in voided coverage later. Find the warranty paperwork before deciding.
Answer these four questions honestly and the decision usually makes itself. If you answered yes to all four, you might be a legitimate candidate for advanced DIY work on your door. If you hesitated on any of them, the safer and honestly cheaper long-term path is professional help. Our Whitestone Garage Door Service home team has walked plenty of Inglewood homeowners through this exact evaluation, and we’ve never regretted steering someone away from a dangerous DIY attempt.
Common Mistakes to Avoid
- Treating a broken spring as an inconvenience rather than a safety issue. A snapped spring means the door’s weight is not being counterbalanced. If the opener tries to lift that unbalanced load, it strains the motor and gear train. Don’t keep using the door.
- Using the opener as a diagnostic tool. If the door is behaving erratically, repeatedly pressing the opener button isn’t diagnosing anything. It’s accelerating wear on whatever is already failing. Disconnect and assess manually.
- Ignoring the weather. Inglewood’s temperature swings cause metal to expand and contract. Rollers that bind in summer heat are a sign of worn bearings, not an adjustment issue. Replacing rollers is the fix; cranking down on track bolts makes it worse.
- Buying the cheapest spring online and thinking it’s the same as professional-grade. Springs are sold in different wire gauges and cycle ratings. A 10,000-cycle spring lasts significantly longer than a 5,000-cycle spring. If you don’t know what the numbers mean, you’re guessing.
- Replacing only one spring. Springs wear as a pair. If one breaks, the other is close behind. Replacing only the broken one means the door is unbalanced by a fresh spring on one side and a tired spring on the other. This shortens the life of both.
- Forgetting to test the safety reversal after any opener work. California law requires garage door openers to reverse when they meet resistance. After any opener adjustment, test the reversal with a roll of paper towels on the floor. If it doesn’t reverse, the door is unsafe and illegal to operate.
- Assuming a noise means the door needs to be replaced. Most noises are component-level: a worn roller, a dry hinge, a failing opener gear. Replacing the entire door to silence a squeak is like replacing the engine for a noisy belt. Diagnose first, replace second.
When to Call a Professional
Call a professional if any of these apply: your torsion spring is broken or visibly rusted; your lift cable is frayed or snapped; your opener motor is making grinding sounds or failing to lift consistently; your door is under manufacturer warranty and you want to keep it; or you’ve tried the DIY-safe tasks and the problem persists. These scenarios share a common thread: stored energy, electrical components, or contractual obligations. None of them reward improvisation. Whitestone Garage Door Service offers free estimates in Inglewood. Call (866) 753-8675 and we’ll send a technician who works on your specific brand, whether it’s a Chamberlain opener or a Clopay door.
Frequently Asked Questions
No. Torsion springs store hundreds of pounds of torque and release it explosively when mishandled. Professional technicians use hardened steel winding bars and follow specific safety procedures. The injury risk from improvised tools is serious enough that no savings justify the attempt.
Professional spring replacement in Inglewood typically runs $180 to $350 for parts and labor on a standard two-car door. The exact figure depends on the door’s weight, spring cycle rating, and brand. Call (866) 753-8675 for an exact quote. Estimates are free.
Yes, if you’re comfortable on a ladder and with basic wiring, and if you can follow installation instructions precisely. The hardest part for most homeowners is programming the opener’s travel limits and safety reversal, plus pairing it with home Wi-Fi. If you hit a wall, professional installation costs less than you might expect.
Most repairs and like-for-like replacements do not require a permit in Inglewood. Structural changes, including modifying the door opening or framing, do require a permit through Inglewood’s building department. Call to confirm before starting any structural work.
Most residential doors in Inglewood fall under a handful of brands: Amarr, Clopay, Wayne Dalton, Genie, Chamberlain, LiftMaster, Craftsman, and Raynor. Any competent professional should be able to diagnose and repair all of these. If a company tells you they only work on one brand, keep looking.
Annual service is adequate for most doors in Inglewood’s climate. A professional service includes spring inspection, cable inspection, roller replacement if needed, lubrication, balance testing, and safety reversal testing. This catches small problems before they become emergency repairs.
The Bottom Line
The DIY-vs-professional question isn’t really about your skill level. It’s about the physics of the components involved. Springs and cables store energy that doesn’t care how handy you are. Sensors, batteries, and bolts don’t store energy, which makes them fair game for anyone with basic tools and patience. The honest calculation includes tool costs, time, warranty implications, and California insurance realities. In Inglewood, where garage doors cycle through heat and coastal air year-round, keeping the safe maintenance tasks in your own hands and leaving the tension systems to professionals is the smartest long-term play. The goal isn’t to prove you can do it. The goal is a door that works quietly, safely, and reliably for another decade. For more guides & resources, visit our blog.
Written by the team at Whitestone Garage Door Service, serving Inglewood since 2018.
See the difference
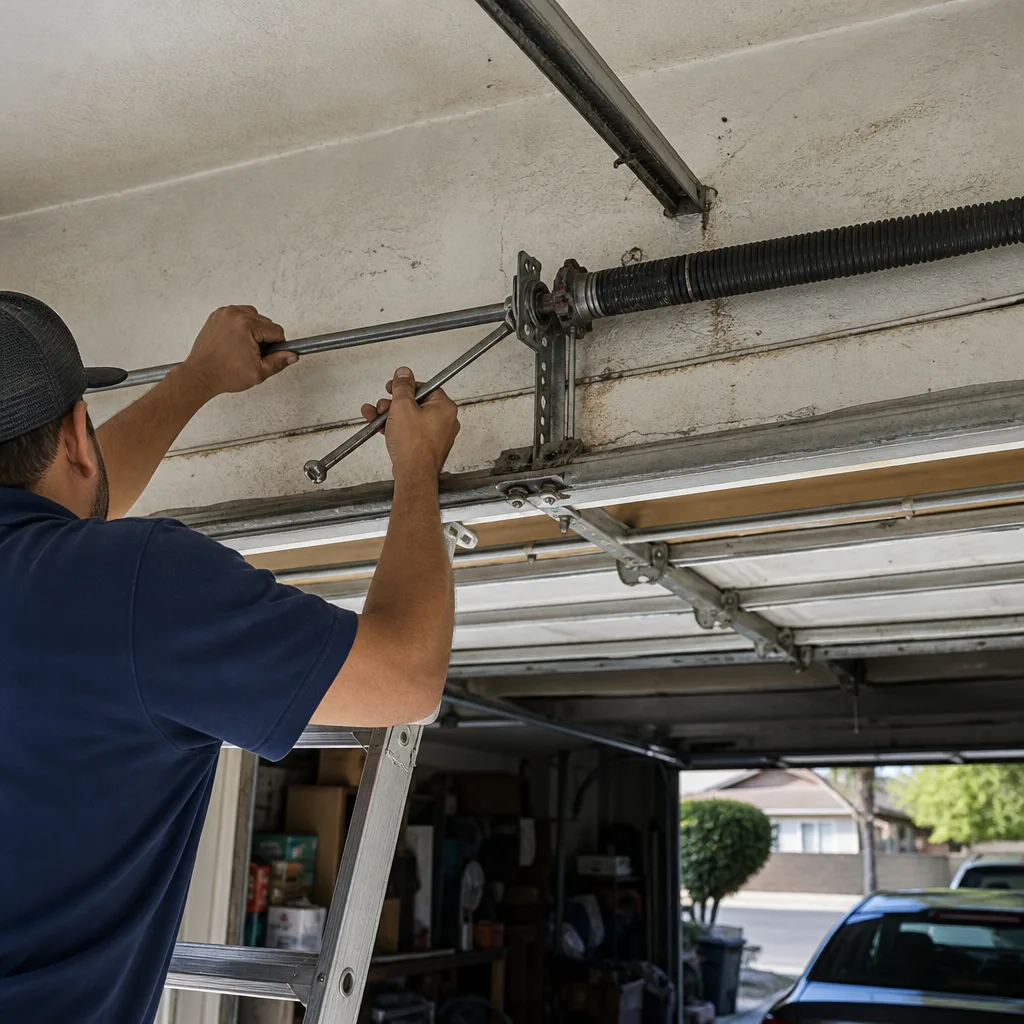 Before
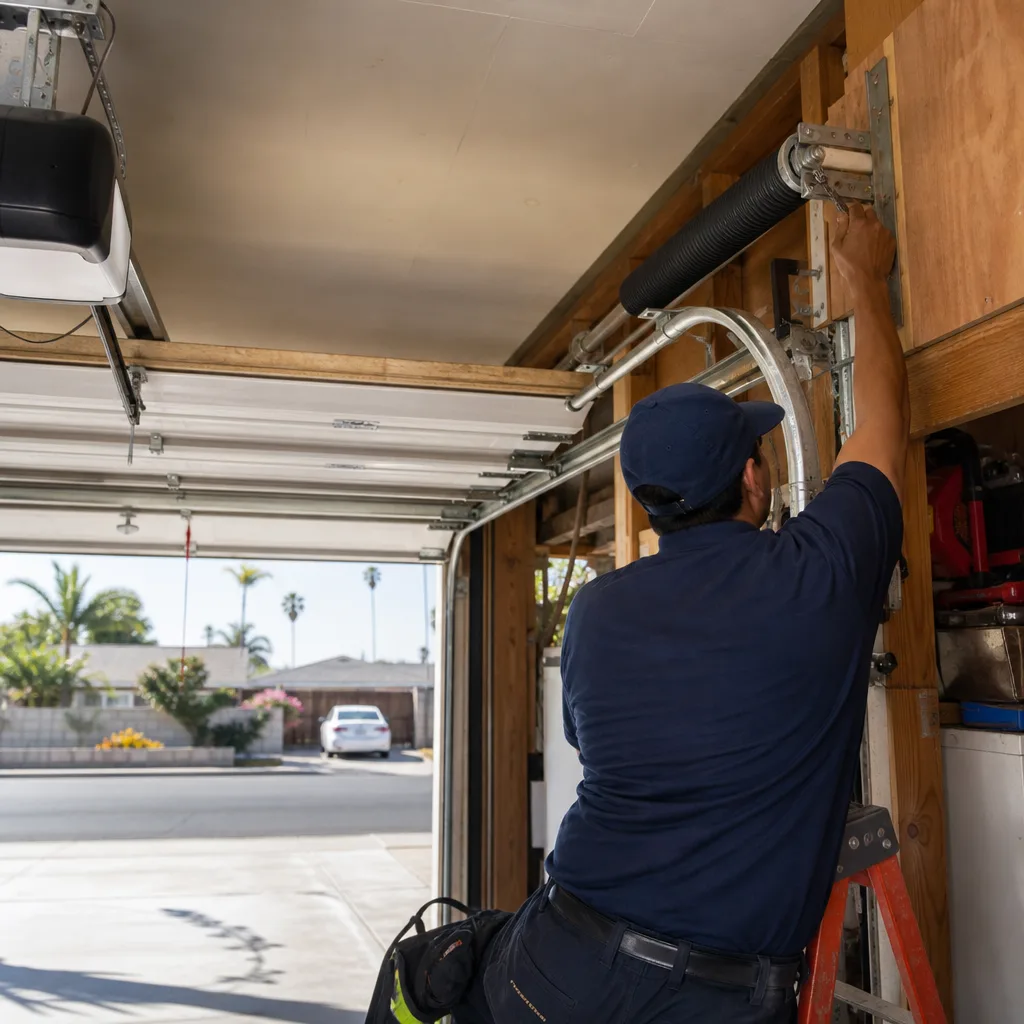 After
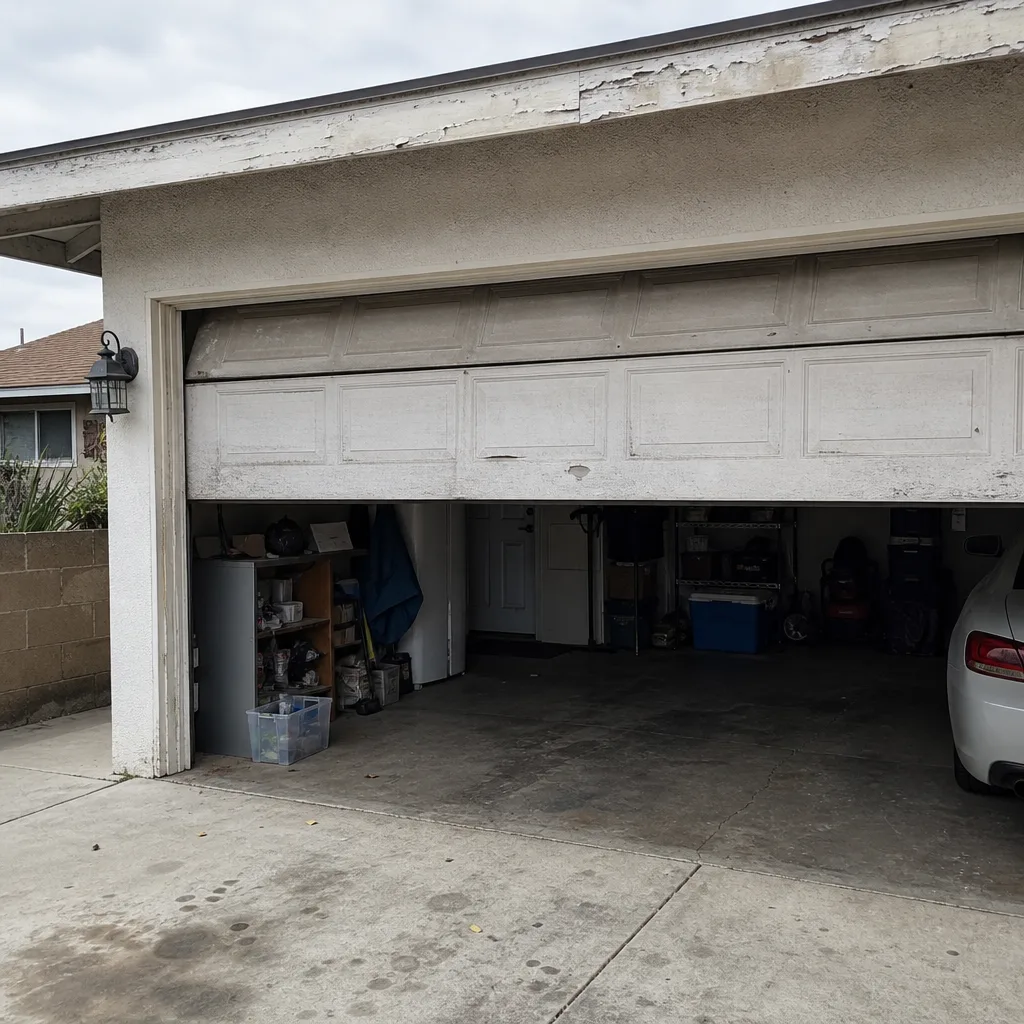 Before
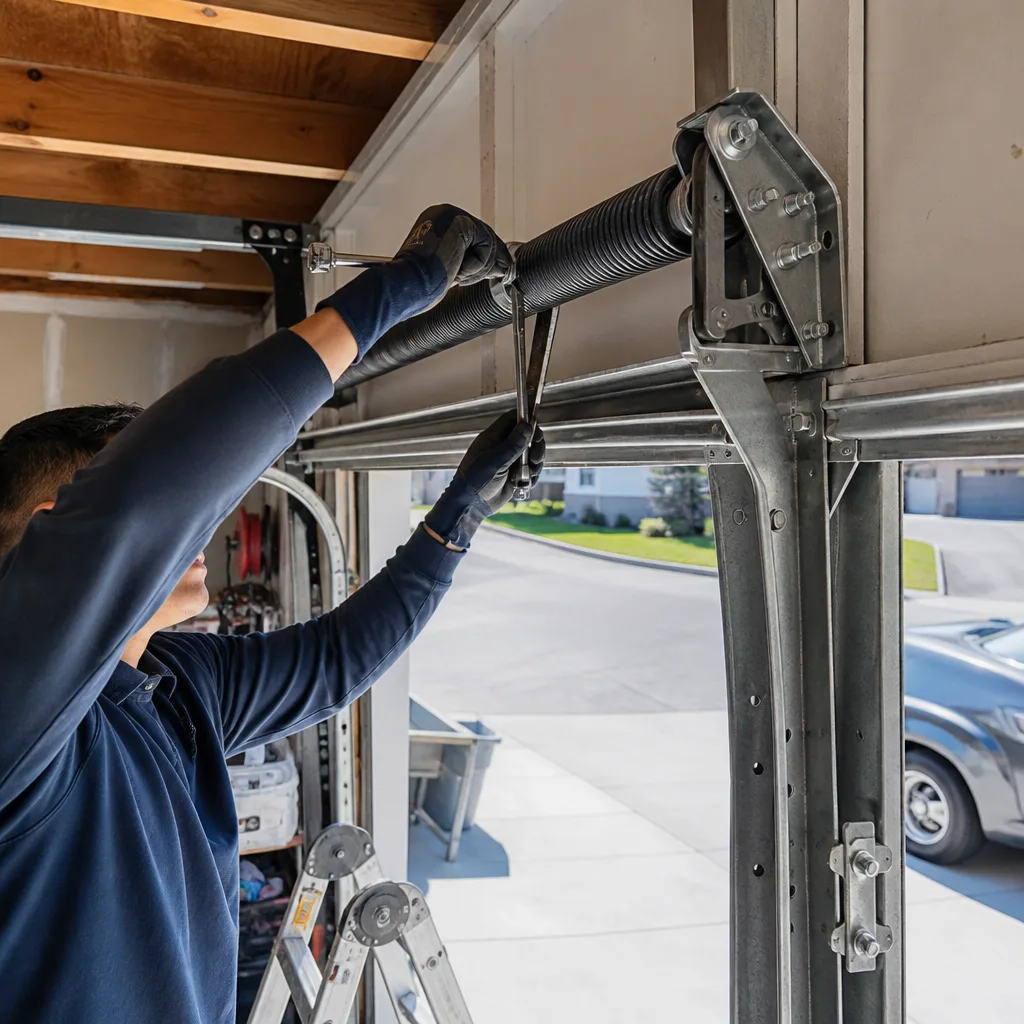 After
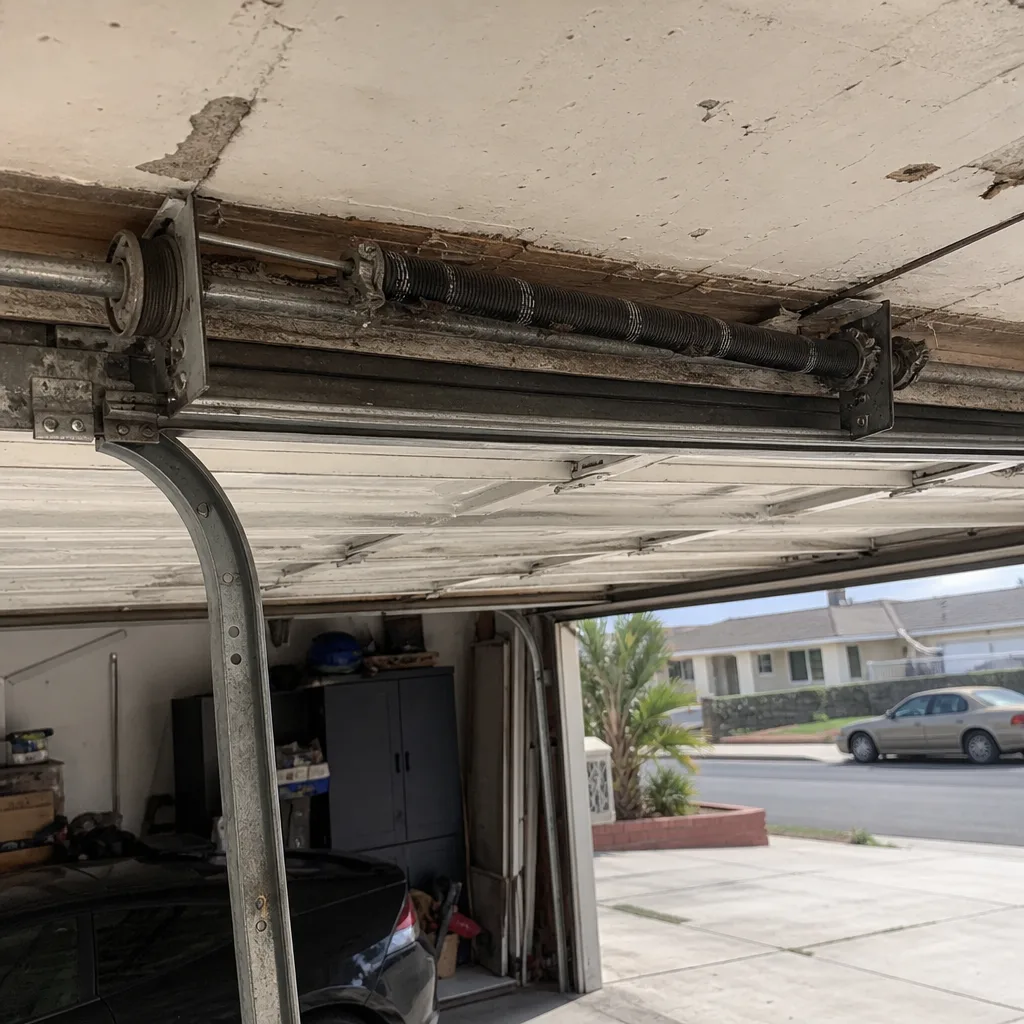 Before
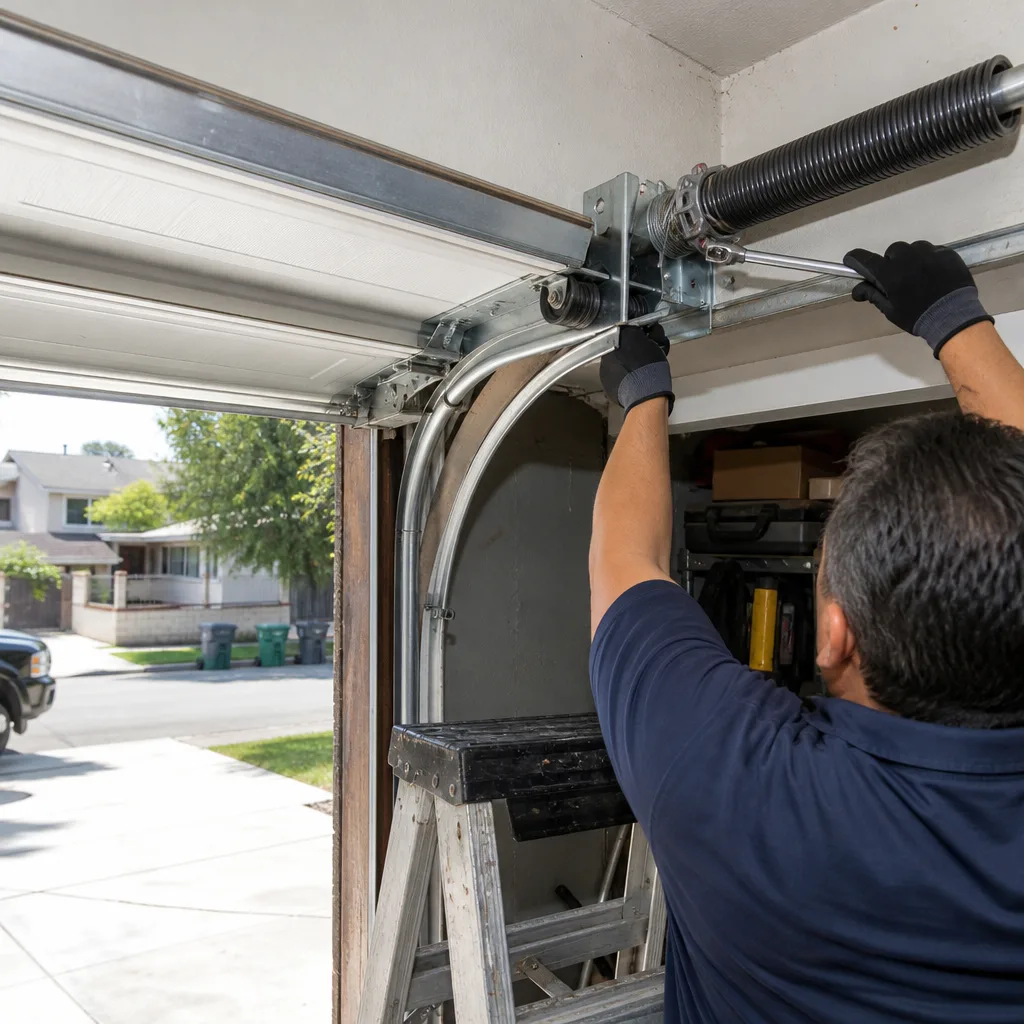 After